I intensely dislike
"the dreaded pink," so I almost never use it in my cards--this
IS a rarity!
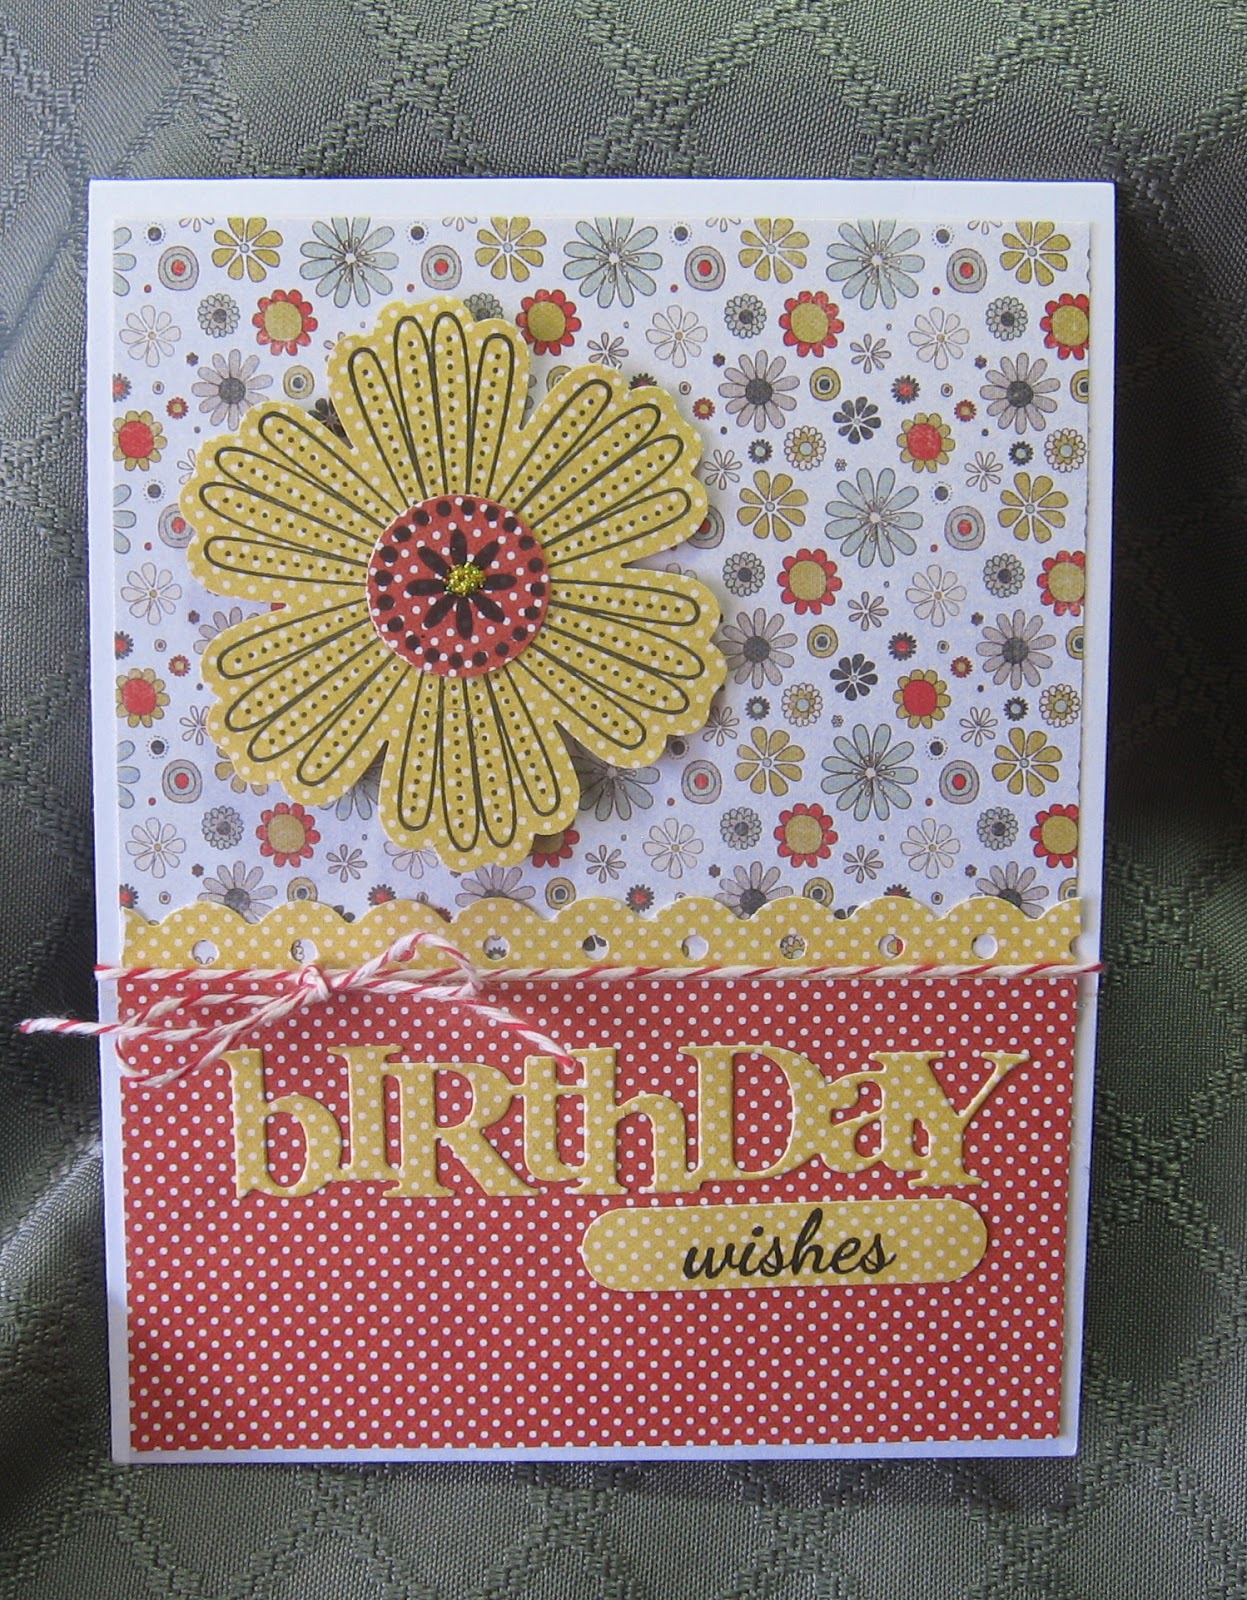
Since the background paper is sooooo beautiful, I just HAD to use it for a May card. You can't see it here, but the paper has metallic gold highlights, which gives the card some glimmer. Of course, I also HAD to match the color of the tulips on the dsp, so out came my colored pencils.
First, I used Versafine Smokey Gray ink for the tulip blossom and stem, which gives them a softer look. After coloring the stem with two greens, I began to color the tulip blossom. Starting with the lightest color, I blended in a light peach and two shades of
the dreaded pink, working with the ones that best matched the dsp colors. Once I was satisfied with the tulip, I stamped the greeting over the stem and cut it out with a label die. I then chose a green scrap that best matched the shade of the leaves in the dsp and cut it out with a larger label die, a little more ornate than the white one. Before mounting the image to the card with dimensionals, I went over the tulip stamens with a black marker.
It truly is an adventure to work with
the dreaded pink, although I think this color is appropriate for blossoms. What is YOUR least favorite color?
TIP: When working with colors you dislike, sunglasses really help!