Tuesday, December 28, 2010

HAPPY NEW YEAR!


We'll be in Prague with our children and 4 grandchildren for the New Year's Eve festivities. We finally get to fly out later today, Dec. 28--only two days late. The blizzard left over 2 feet of snow at the airport, while we just got the fringe of the storm with 3 1/2 inches here. The wind, however, sounded like a freight train for two days; but it's sunny and calm this morning--much better traveling weather.

The Lord, in His Providence and Mercy, had us at home when a 50-mile/hr. gust of wind blew the back door open in the middle of the night. When Rick went downstairs later, the temp. in the Family Room was 30 degrees--what a disaster that could have been! He has since screwed a board across the door to keep it shut while we're away. Not exactly glamorous, but it will do until we can get a new door.

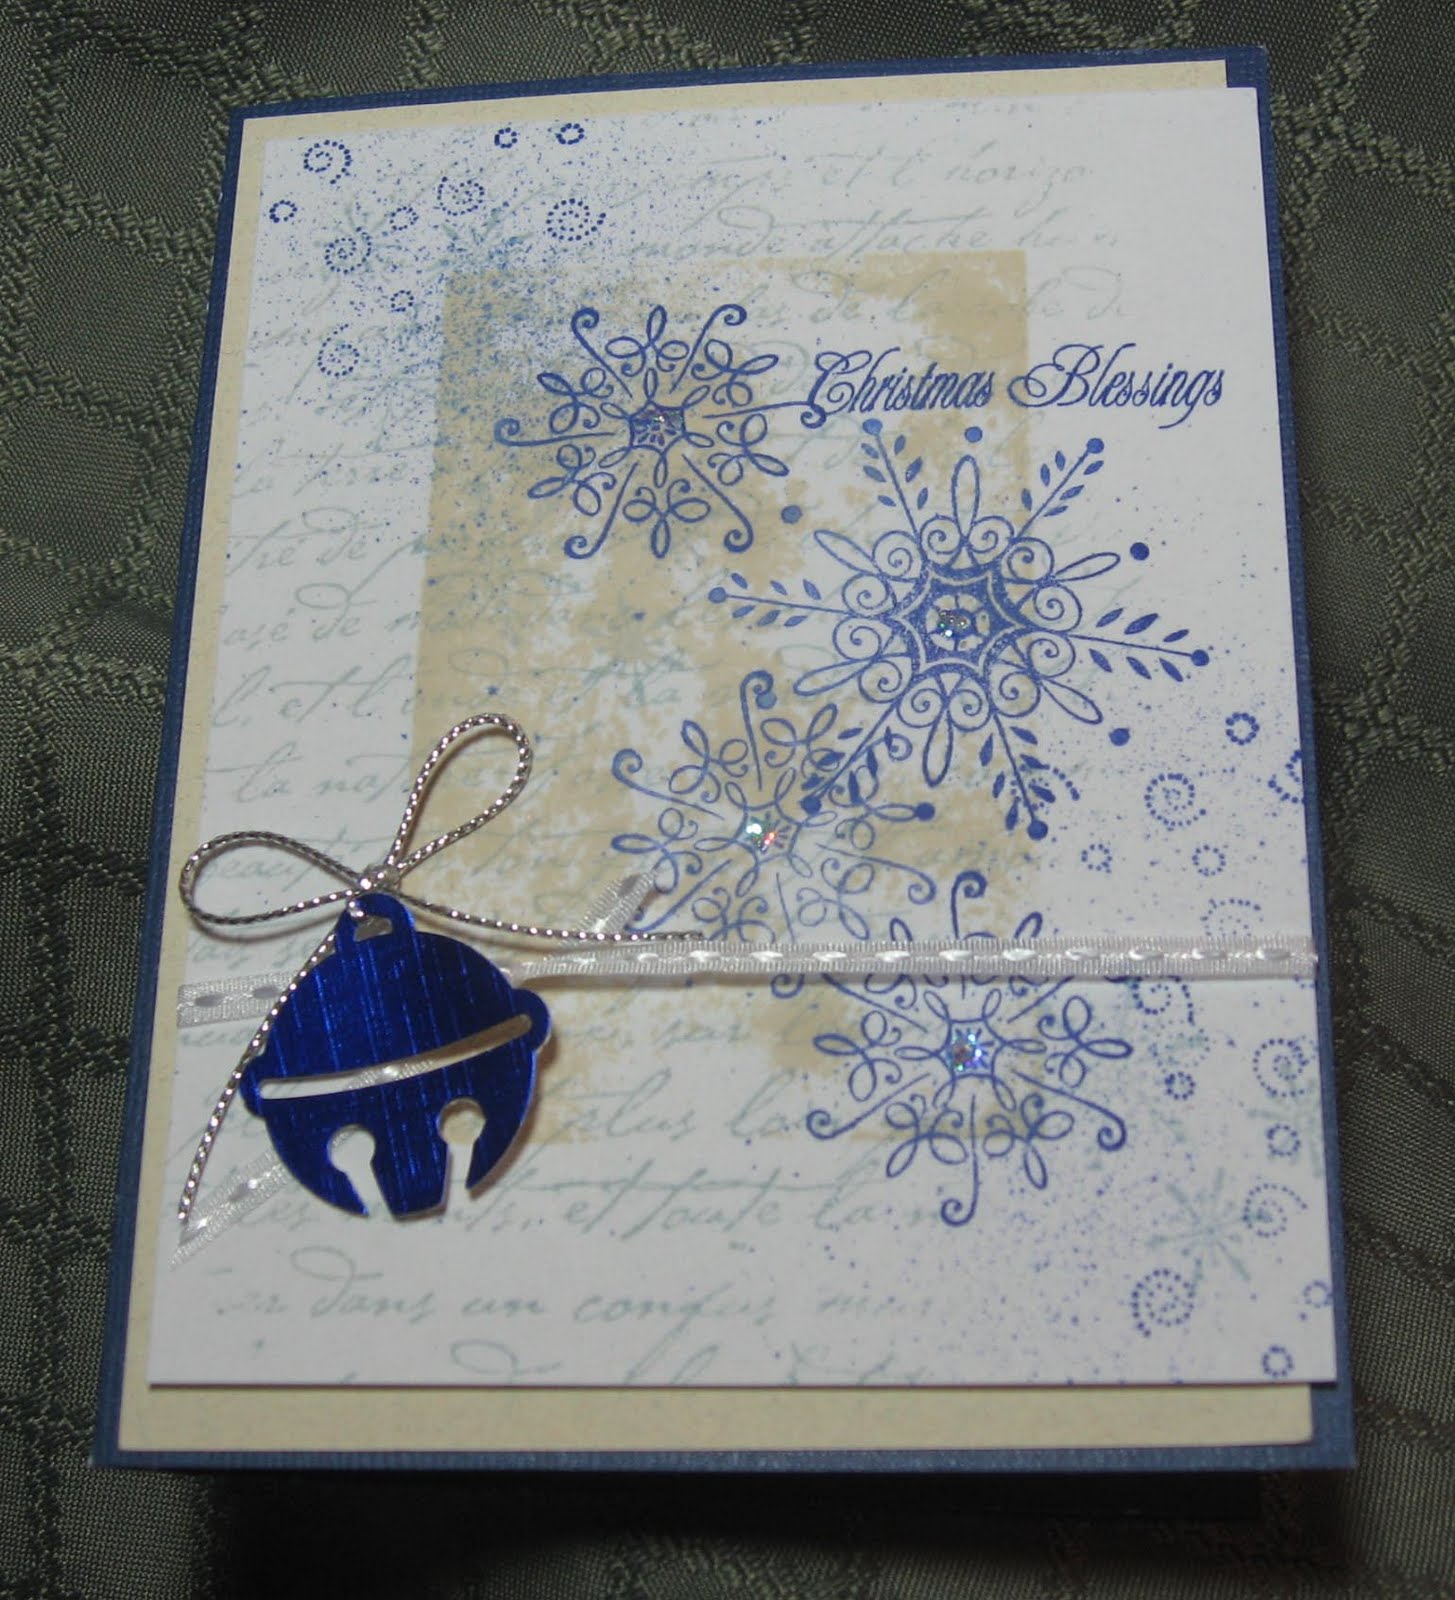
What are your stamping goals for 2011? I'm determined to use up as much of my stash as I can without buying more--until the Stamp Show in April, that is!

Monday, December 20, 2010


Glitterfy.com - Christmas Glitter Graphics


Best wishes to all for a Christ-centered, fun-filled Christmas!

"See" you when I get back from Prague next year. Meanwhile, check out our tree and how our cat enjoys it here.

Have a wonderful holiday and a Happy, Healthy New Year!

Friday, December 17, 2010

Scripture Cards


I've been making cards for our pastor to use as he ministers to our congregation.
What better stamps than these beautiful Scriptures from Our Daily Bread Designs!


Coupled with a new pad of dp from Basic Grey ("Archaic",) the soft colors fit very well with soothing words of encouragement. The lettering used is large enough for the stamp to be the focal point of the card. As you can see, I use very little embellishment, making the cards more postage friendly while keeping them on the masculine side for the pastor's use.

These cards will be entered in the Our Daily Bread Designs challenge for a chance to win a gift certificate at ODBD for more of their beautiful stamps. For other cards using their beautiful stamp sets, click HERE.

(Meanwhile, my own challenge is postponed until after the holidays.)

Monday, December 6, 2010

SET YOUR TIVO!

Our son-in-law, Chris, is part owner/manager of a new hostel in Prague which will be featured on the Today Show Dec. 9th. Not only is The Mosaic House sleek and modern (already a success!) but is also "green" which I assume is the main interest for the show. Camera crews have already been there to film. Enjoy!

(For a further look at the Mosaic House, you can check it out here.) There are shared rooms for backpackers and luxurious single rooms for world travelers, all at reasonable rates. The decor is stunning, the food outstanding and the staff friendly.

If I sound like a proud mother-in-law, it's because I am!

Saturday, December 4, 2010

Flourishes White-Out


Here's my card for the Flourishes Winter White challenge. For the first layer, I used my Scor-Pal to make the diagonal lines. The next layer was a CB swiss dots folder underneath the CB snowflake folder. The top snowflake was done with a Marvy punch with a snowflake brad added in the center. Silver twine finished it off.

This was a fun challenge!

Christmas Card Workshop


Today was the workshop at my house where everyone made 2 each of 3 designs. The designs I came up with worked really well, and we all had a lot of laughs as we put them together.

Joan, on the left, is my "regular" stamping buddy; Debby on the right is a new stamper who is lots of fun to watch as she is constantly amazed that she CAN do this.

Ruth and Jackie, in the second picture, were happy to show off their cards. These were the snowflake ones. There was also one with a candle, held by Joan. Last was a candy cane design with the candy cane story printed up for the inside.

To add to the cheery mood, we had a few snow showers earlier this morning before they arrived.

I'm so blessed to have such fun friends!

(If you click a second time on a card, you can get an even better view.)

Friday, December 3, 2010

Christmas Cards Are In the Mail!

Whew! I just dropped 80 cards into the letter drop at the post office yesterday, with the remaining 20 to be hand delivered. What a relief to get them all on their way!

Have you seen the new Forever postage stamps? They're 4 images of pine boughs and berries/pine cones and are just right for Christmas or winter cards. I bought enough to use next Christmas too! Now all I have to do next year is remember where I put them ;).

Yesterday was also tree-decorating day (See 2008 post for a photo.) Today I'll be cleaning up and preparing for the Christmas card workshop here tomorrow. Once that's done, I can concentrate on Christmas shopping and wrapping gifts for the next 2 weeks.

I truly enjoy the hustle and bustle of Christmas, but I also like to take the time for reflections on the true meaning and purpose of the season. I challenge you to do the same.

Merry Christmas!

Sunday, November 21, 2010

Give Thanks


Although it looks gray here (probably because of the gray skies today) this card is on Crumb Cake cardstock from SU. I pulled out a folder of pre-stamped images from last year and used the indian corn as my starting point. After coloring it with markers and cutting it out, I turned to Anna Wight's "Give Thanks" set for the sentiment.

A striped dsp border, a Martha Stewart border punch, some rafia from my stash and embroidery floss inside (above the striped paper) and on top all added to the Fall look. Three dot sparklers from Stampendous provide a little bling that is also postage friendly.

Among my reasons to be thankful are all my stamps and supplies that not only bring me great pleasure as I create with them, but also bring blessing to those who receive them. It seems letter writing has become a lost art in this day of texting and emailing! However, that's what makes getting a card so much more special.

If I had to name the one thing for which I am most thankful, it would have to be the greatest blessing the Lord has ever given me--salvation in Christ.

Happy Thanksgiving!

Our Daily Bread Designs Challenge


This stamp and die set is sooooo versatile--I just love using it!

Whether you do the poinsettia in white, pink or red, it looks great every time. On this card, I opted for the white with a gold glitter center. The die cuts out all the little openings on the sides, which makes this a 5-minute card (yes, really!) I used the stamp for the background also.

The sheer ribbon behind the image adds a litter shimmer without being too much. The poinsettia was mounted with a dimensional, and stickers were added at the corners to look like brads.

For a look at some of the other cards in the ODBD challenge, click HERE.

Tuesday, November 16, 2010

SHINY BERRIES


Using the SU "Sketch It" set, I first stamped the wreath in green, added the scriggles in a darker green, and stamped the red berries around. With black ink, I stamped the greeting. Using a hole punch, I punched out all the berries using the red ink as a guide and set it aside while I stamped some swirls from "Fresh Fillers" on the red card with Versamark.

Then came the fun part--making the berries shine. All I did was punch a large circle of red foil and tape it on the back of the wreath so that the shiny paper would show through. After adding the red metallic bow, I attached it to the card with dimensionals.

This was a quickie card, for sure!

(Click on photo for a closer look.)

Sunday, November 14, 2010

OLW--Five Colors


Here's a card that actually looks worse IRL! That's quite appropriate in this case since the subtitle for this week is "Colour Me Bad."

This started out fine until I ran some gray "shadow" lines under the tree. It didn't look right, so I kept adding more, and more...and more...until I had quite a mess. Let me warn you: glitter doesn't cover up large blotchy areas like this one. White snow might have worked better; but I couldn't find it in my stash before the glue dried, so I reached for a jar of chunky glitter. Maybe it will improve when it all dries (HA!)

This one's headed for the trash once I link it to the One Layer Wed. challenge on Simplicity--I should at least get "credit" for using 5 colors and colouring it bad!

Saturday, November 13, 2010

Second Snowfall


I like this better--consider it tweaked! (See post below.)

Snowfall Instead of Fall Leaves


This is my first attempt at CASEing a beautiful Fall card done by Julie Marshall, posted on Oct. 15th, here, but it still needs some tweaking. I think I'd like mine better with a few less snowflakes next time.

I started with stamping a portion of French Script on the lower left of the white piece, then spritzing some blue ink diagonally across with a blow pen. Next, I gently pressed a light tan ink pad on the right side. Using various shades of blue inks, I stamped snowflakes of assorted sizes. The white ribbon was tied around the first layer only, the white panel was attached to the very vanilla panel with ds tape, and both were mounted on the blue cardstock with dimensionals.

The sleigh bell was punched out of blue foil paper with a Martha Stewart punch I just bought yesterday and added over the white ribbon with a dimensional. For the final touch, I added some Ice Stickles to the center of each snowflake.

In a way, it's certainly appropriate to swap out leaves for snowflakes since no two are alike and they both fall from the sky! (Unfortunately, they also both have to be removed from yards and driveways.)

Tuesday, November 9, 2010

Autumn Corn Stalks


One of the things I like about this time of year is that, once the field corn has been harvested, the fields are cleared and you can enjoy the wide open spaces again. What was once vibrant green has turned brown and been chopped up for silage for the local dairy farms. That's the look I tried to capture here.

I used colored pencils for this card, with added sparkle on the corn, tassels and weeds below. Spica pens provide the fine glitter--I highly recommend them! (If you click to enlarge and then click a second time, you can see the effect.)

Saturday, November 6, 2010

Vellum Snowflake


This card using vellum was inspired by a Nov. 2nd post on Cat's Creations (here) and I just had to try it! Instead of a snowman, I white embossed a snowflake from a SU set.

The vellum is folded over a piece of Very Vanilla cs and secured on the back with double stick tape. After placing a clear gem in the center, I added a glue dot behind it for extra hold. I then added a strip of white cs that was punched with a Martha Steward lace edge. I attached the green cs and sheer ribbon to the Very Vanilla card base and mounted the snowflake piece with dimensionals.

What appealed to me about Cat's card was that the vellum covered a separate piece attached over the card front, making it easier to hide the tape and glue dot.

Simple Saturday #19

Wednesday, November 3, 2010

My Next Stamping Tower


If I lived here in this castle, one of those towers would be just perfect for stamping! It is located in Karlstejn, about a 45-min. ride from Prague, CZ.

After the long uphill walk (that's Owen in the foreground, leading the way) we took the tour of the inside. The rooms were huge with very high ceilings. I was imagining how many stampers the rooms could accommodate! The valley views would be very inspirational, too!

It would need Ott lamps for good lighting, though; especially on gray days like this one. Then I'd add large tables on warm carpets, wall tapestries for sound absorption, and huge wooden cabinets for supplies. Oh, and lots of electrical outlets for heat guns, a coffee station and my computer--all the comforts of home with a little castle splendor thrown in!

(Click on photo twice for a closer view. For more photos of our trip, use the Fox Mtn. link at sidebar for our family blog.)

Pine Tree Christmas


This card was fun putting together. It all started with the pine tree dsp left over from last year. Since I wanted to emphasize the pine tree theme, I ran a piece of metallic brown cs through the Cuttlebug with a Fiskars wood grain embossing plate and cut it long and narrow to simulate a tree trunk. After tying some green embroidery floss around it, I taped it to the left side of the card.

For the greeting, I stamped the sentiment on white and ran it through the CB with a Nestabilities oval die. Then I sponged some green ink on the edges before removing it from the die, leaving a white border. Using two of my peg stamps, I added the pine and pine cones to the bottom center, then popped it up with dimensionals.

I love how the peacefulness of this design reflects the sentiment.

Saturday, October 30, 2010

Christmas Lace


Here's another easy Christmas card which is also postage friendly.

After stamping the Bible verse on Very Vanilla cs, I ran it through my Cuttlebug with a Nestabilities oval. After taping the dark green dsp onto the Sage Shadow cs base, I added the lace and secured the oval over it with double-stick tape.

For the flower, I used one from a Hero Arts flower packet and added a red center with one of the shapes from the SU Boho Blossoms punch. A Stampendous dot sticker adds some glimmer.

This card is destined for one of my friends whose house is Victorian and reflects her style. I hope she enjoys it!

Wednesday, October 27, 2010

FROM MY FILE--Sunflower

Here's another card from my Pre-Stamped Images file that I stamped years ago!

The petals were done with SU markers, the center with chalks. The leaves and stem were colored in with markers also. The seeds on the border were enhanced with a black Gelly Roll pen. For a final touch, I used Inkessentials "Glossy Accents" for the dew drops.

The image is mounted at an angle with dimensionals over a yellow sun dsp on kraft cs. The raffia adds a hint of Autumn to the card.

Monday, October 25, 2010

Kinkade Scene


This could be a Christmas Eve scene, done beautifully by the artist. All I added was the "light" from the windows--talk about easy!

After taping the image to the back of the overlay, I stamped the sentiment above and mounted it onto the card with SU dimensionals. Done!

Saturday, October 23, 2010

Takin' Care of My Peeps

We're off to visit our daughter and family in Prague again! This time, through the "miracle" of blogland, I've already scheduled some posts of cards every 2 or 3 days for you to enjoy while I'm away. Please leave your comments--I can access my emails and blog posts from my daughter's flat and look forward to your remarks.

Be sure to scroll down for any cards you may have missed. Now that I'm back on track, I've been posting every 2 or 3 days. And, of course, you can click on them for a closer look at the details.

November should be a fun month for stamping--lots of Fall colors and images, Thanksgiving cards, and more Christmas card designs to try!

Friday, October 22, 2010

FROM MY FILE--Cardinal


Talk about easy! This one was so simple, it hardly took any time at all.

Using Sage Shadow as the card base, all I had to do was color in the image with markers, add a touch of black Stickles for the eye and mount it on a scrap of dark green cardstock.

For a little glimmer, I added a bow of red metallic twine.

After adding the greeting, it was done!

Wednesday, October 20, 2010

OLW--Birds and Trees


Some of the details on this card did not photograph well, unfortunately. For instance, the border I did with my ScorePal stands out better IRL. So does the Spica pen enhancement on the owl's eyes and the pine cones. So what looks like kind of a dull card, actually has some sparkle to it. (If you click twice to enlarge, the sparkle shows up better.)

It was fun getting out my peg stamps for this one. I started with the pine needles, added my own "branches" with SU markers, then stamped the pine cones. The owl is from Hero Arts.

Thanks, Jennifer, for another great challenge!

Tuesday, October 19, 2010

FROM MY FILE--Squares of Holly


After coloring in the image with markers, I used various scraps to put this card together.

Starting with a Crumb Cake card base (formerly Kraft) I added a piece of red cardstock that I ran through the Cuttlebug for some texture and taped it on the left side. Then I taped a piece of Christmas ribbon to the textured black cardstock and taped that on the right. After securing the square with dimensionals, I found a metal ornament in my stash that was just perfect for the center of the squares. I tied some red metallic twine through the hole on top and used a glue dot to adhere it to the card for a nice postage-friendly embellishment.

Next, I stamped "Merry Christmas" on white cs, taping it to a red oval scallop and placing it as shown with dimensionals.

Using pre-stamped images from years ago is getting to be fun!

Monday, October 18, 2010

OLW--Non-traditional Christmas Colors


First of all, recognition is in order for Susan Raihala of Simplicity. Not only did Susan start our weekly challenges, but she has done a wonderful job of managing it and visiting all our blogs to comment on our entries. Kudos, Susan, for a job well done and appreciated!

The real challenge, however, is in knowing when to withdraw from something even when it is going well. I had to learn this myself several years ago, and I know the agonizing that one goes through when making this kind of decision. After all, there's a time to move on in order to pursue other things in life.

One Layer Wednesday will continue for a time with Jennifer Styles partnering with Susan to keep the challenges going. Jennifer's challenge for this week is to create a winter holiday card without using Cream, White, Red or Green cardstock for the base. I can't think of anything more non-traditional than Soft Suede, which is how I came up with the start of this card. After embossing the poinsettia in gold, I colored in the flower with a peach chalk, with black chalk toward the middle. I then added black sparkle glitter in the center. The sentiment is done with black embossing powder which also helps to make it a little more readable against the dark cardstock.

Thank you Jennifer for volunteering to help keep One Layer Wednesday going!

Sunday, October 17, 2010

From My File

I have a file marked "Pre-stamped Images" where I keep them for future use. These are stamps that were either borrowed or used when a bunch of us get together to share sets around the table for just this purpose.

These birds were from several years ago, and I forgot I had them until today when I opened up the folder. I used this set originally for a beautiful card and matching bookmark for someone special. That card also featured a single bird inside that I cut out from the right side of a duplicate copy.

The chickadees are watercolored with dark and light grays, the leaves with a grayish green. I used markers for the berries and branch. The hardest part was the layering which required precise cutting and mounting. I used a combination of green embroidery floss and gold metallic twine for the bow.

Getting together with other stampers to share stamps is a great way to expand your supplies with only having to spend some ink, cardstock and time. Each of us brings white cardstock, some inks and several of our sets to share. We spread the stamps around the table, stamp 5 or 6 copies of images we don't have and save them for future use. It's also useful for sentiments to put inside future cards.

Hero Arts and SU are sure not to like this idea! (...sorry...)

Thursday, October 14, 2010

Something New from ODBD


Our Daily Bread Designs released a new stamp set with matching die and template, and I love it! After stamping the poinsettia and coloring it, all I had to do was place the clear template over it, mark the two holes provided and line up the cutting die accordingly. Then I ran it through the Cuttlebug, which cut the flower and all the intricate cutouts around the leaves. Can you imagine trying to cut all that out with scissors??? Thank you ODBD for coming up with such a time-saving idea!

Check out all the possibilities in the ODBD gallery HERE. They also have a snowflake set that works the same way.

(Don't forget to click on the photo for a larger view.)

Monday, October 11, 2010

One Layer Wednesday--Heavy Metal


It wasn't easy getting this one photographed so that the gold embossing would show, but here it is. Thanks, Susan, for another great challenge!

Since I also like to keep my cards mailable, I made this one postage friendly by avoiding all that extra "stuff" that makes the envelopes bulky. For handouts, I can splurge; but I've come to prefer the clean and simple look anyway.

For the sunflower and leaves, I used a retired SU set (Sketch It) that I just bought last week and have been using a lot since. First I stamped with VersaMark and chalked the flower. The leaves were stamped with Autumn Leaves rainbow dye ink pad. The greeting is a Hero Arts clear stamp, inked with Versamark and gold embossed. I also embossed the flower center.

Enjoy!

Friday, October 8, 2010

Special Fold Card CASEd


I recently received this lovely birthday card from a Silver Stamper, Mary McMillan (Glitter Grammy blog on sidebar.) It was so nicely done, I decided to CASE it as a Fall card. Hers is vertical, but I decided to make mine horizontal.

Later, I used the same pattern for a Christmas card (not shown.) It was a lot of work, but well worth it.

Thank you Mary for a crisp, bright birthday card!

Monday, October 4, 2010

Halloween Card


UPDATE: Here are some of the moms with their finished cards. Do they look proud!

For Mothers Class (now Moms Club) this week we'll be using "Spidey," an old D.O.T.S. stamp from my stash. We used him last week for a spinner card which came out cute; but I forgot to take pictures -- as usual. This time, I remembered!

After embossing the spider web on black cardstock, I punched out a circle in the lower right, then attached the web-printed ribbon. Spidey was stamped in the opening, then the black was mounted on the card with double-stick tape. The letters were stamped on purple cardstock, punched out and attached with glue dots and dimensionals.

For the inside, there'll be a row of pumpkins below the greeting. A fun card to make!

Saturday, October 2, 2010

HAPPY WORLD CARD-MAKING DAY!

How will you be spending this day? Stamping? Hiking? Gathering new ideas?

I'll be hosting a Stamp-a-stack workshop today with six stampers around my dining room table. We're making the Christmas card shown in a previous post (scroll down to Sept. 3rd.) Included in the group are three beginners and one new stamper.

UPDATE: The Workshop went very well! Everyone got their 8 cards done, and even added a Christmas star on the envelopes--all in an hour and a half. One woman who came had never stamped before and is looking forward to attending another workshop.

Sunday, September 26, 2010

OLW--Inspired by Nature


I can't think of anything more inspiring than autumn leaves!

After stamping the basket with brown ink and coloring in with a SU marker, I used peg stamps to "fill" the basket. I used my Scor-Pal to make a square around it, then outlined it with a marker. The embroidery floss bow is attached with a glue dot.

DE-CLUTTER DE HOUSE--Kitchen


Having your microwave struck by lightning isn't always a bad thing. It forced me to finally get this part of the kitchen under control. In fact, I like it much better this way:

First, there is now a "Coffee Station" where the old microwave used to be. The shelf above, which used to house all manner of clutter, is now perfect for boxes of the Tassimo discs used in the coffeemaker below. I also rearranged the shelves to the right so that they're no longer stuffed with "stuff" that was hard to get to.

Across the kitchen, on the counter next to the stove, the new microwave now sits. Not only will it be more convenient to use there, but the plug is now accessible (which it wasn't before.) When there are t-storms in the area, I can now unplug it before any damage is done. The mixer that was in that corner has been moved to the other end of the counter in place of the bread basket which is now on the table.

That was a lot of work, but that's not all. What you can't see is that I also de-cluttered all the outdated meds and vitamins, consolidated them into one drawer instead of two, and cleaned out some of the other cabinets. I plan to do more as time permits during the next few weeks.

What have YOU de-cluttered lately?

Saturday, September 18, 2010

SEPTEMBER 19th--A Special Day

That's the day I was born, many years ago. I'll be spending the day relaxing, doing the Sunday Times crossword and maybe even catching a catnap. At my age, I keep the celebrating down to a dull roar...(lol). My DH is taking me out to dinner in a few hours with our son, DIL and 2 grandchildren. We'll have champagne and snacks here before we go--that's excitement enough for now!

Next week I'll drive to Long Island (2 hrs. from here) and celebrate with my sister and Dad who are taking me to dinner there. If my sister gets Friday off, we'll meet in NYC at the Metropolitan Museum of Art (my favorite museum in NYC) and then I'll drive us to her house from there after lunch.

Since this is not one of those dreaded "milestone" birthdays, a nice quiet celebration will be just fine--especially with no dishes to do!

SIMPLE SATURDAY #18 (on the 18th!)

Friday, September 17, 2010

De-Clutter De House--Paperwork

Okay, now that summer is over and school is back in session, it's time to get things back in order. Let's start with collecting all the paper piles, so grab a large garbage bag and start sorting.

You decide what categories will work for you, such as magazines, bills, tax receipts, to-do lists, catalogs, etc. Handling each piece only once, divide into separate piles, discarding unnecessary papers as you go. Place the bills into a container or drawer that you can keep within easy reach so they don't get mixed in with other things or forgotten.

Toss outdated catalogs or give away older magazines as the newer ones arrive. Storing like things with like in a specific place makes them much more manageable--a stylish bucket for catalogs or a sleek magazine holder, for instance, help define the allotted space.

We'll be getting a lot of Christmas catalogs soon, so I keep a large decorative basket specifically for those. When I'm ready to start ordering gifts, I just pull out the basket and start shopping. Once the buying season is over, I toss the catalogs and use the basket for decorative paper goods (fancy napkins, paper plates) for holiday entertaining. After the holidays, the basket goes back in the closet until next year.

Don't let those papers pile up--be creative with ways to deal with them and go for it.

Leave a comment and share ways you've found to tame the paper tiger in your house!

Thursday, September 16, 2010

ONE LAYER WEDNESDAY--3 OF A KIND


It's definitely getting Fall-ish around here, so pumpkins are very appropriate. Since we couldn't add a layer, I used my wavy scissors at the bottom and sponged the brown ink onto the inside bottom of the card. It really is a challenge to keep to only one layer!

Tuesday, September 14, 2010

DE-CLUTTER DE HOUSE IS BACK!

Isn't that crisp Autumn air invigorating? Dontcha just wanna get your house back in order after all that hot and humid weather? It's de-cluttering time again!

I've been drawing inspiration from a new TV show on HGTV called "Get It Sold" which offers ideas even for people who aren't planning to sell or move. The only thing I want to move is the clutter. Here's a picture of my dining room after de-cluttering and rearranging some of the furniture to make it look more open and roomy.


I wish I had taken a "before" picture so you could see the difference. The left wall had two of the chairs up against it, one piled with "stuff". There was also a small cabinet, which I moved out to another room where it was actually needed. The wine rack (foreground left) was centered under the pictures, which made it feel crowded when people were sitting on the left side of the table.

According to "Get It Sold," there should be 3 feet of space between the table and other pieces for people to walk around it comfortably. This is not always possible, but you can give it that look by removing pieces that are "just there" taking up space. If my house were on the market, I'd remove the table and lamp in the back and replace the candle chandelier with an electric one. Then I'd also remove one of the table leaves to make it look even roomier.

Since our dining room is separate from an eat-in kitchen, there's no excuse for the table to become the usual catch-all spot. It never ceases to amaze me how much bigger a room can look once the clutter is gone and the floor is vacuumed!

(After taking this photo, I used some coupons to buy a new set of matching light brown cushions for the chairs.)

Thursday, September 9, 2010

ONE LAYER WEDNESDAY--B&W with one color


I just KNEW I'd find a use for that Marvelous Magenta marker someday! The cat images were stamped with a roller I pulled from my stash.

Thanks for the challenge, Susan. It truly is a challenge to use only one layer.

Friday, September 3, 2010

OLW--Trees


Susan Raihala (of Simplicity) has issued a One Layer Wednesday challenge using trees. Here's my take on it!

The verse from Isaiah seems to fit Autumn perfectly, just as it's also meant for each of us who will wither and fade in turn.

The tree stamp is from a set by Paper Trey Ink, and the verse is from a wonderful Scripture set by Our Daily Bread designs.

P.S. After taking the photo, I added some white gel pen on some of the branches and under the trees. What a difference!

World Card-making Day


Did you know that Sat., Oct. 2nd, is World Card-making Day? In honor of the event, I will be hosting a workshop where each stamper will make 8 of this design.

All stamps and supplies are from Stampin'Up, featuring one of the new Christmas sets in the Holiday catalog. The card base is Crumb Cake, the image will be stamped on Very Vanilla with Soft Suede dye ink and mounted on Soft Suede cardstock. The verse is mounted with SU dimensionals.

Torn edges add a little texture, although I plan to redo it with the torn side a bit more parallel with the curved image. The only embellishment is some gold glitter gel pen on the 3 halos.

I kept the design simple to reflect the simple Birth of our Saviour.

Wednesday, September 1, 2010

RETURN TO STAMPING!

Now that my daughter has flown safely back to Prague and I've caught up on restoring the Stamping Tower, I'll be stamping up a storm--especially since I have to stay indoors with the A/C during this latest heat wave. I must say, we had perfect weather during their visit, though. The last few days were in the 90's, but the humidity didn't start up until today; so it was still comfortable.

Joan and Jackie will be stopping in tomorrow to play with the two new stamp sets I got that haven't even been opened yet. Watch for some new posts coming SOON!

Thursday, August 19, 2010

SPECIAL VISIT

Now that my daughter and her family will be here Friday for 10 glorious days, I'll be taking a break from my blogs until after they leave on the 31st. Unless, of course, I post a photo or two!

Check back for the latest news on our activities!

Saturday, August 14, 2010

Basic Black


This card was sooooo easy to do!

First, I swiped across the white cardstock with 4 SU Craft spots from the Regals collection. Then I stamped the butterfly, embellished with Stickles, and put the card aside to dry.

Next, I ran the black cardstock through my Cuttlebug with a new embossing plate from Nestabilities. Then cut out the scalloped square with a Nestabilities die. After attaching it to the card with SU dimensionals, I added the embroidery floss, greeting and button filled with Stickles.

Easy to do and colorful too!

INTERACTIVE CARD


I just love to send cards that are interactive because they have such a nice surprise for the recipient.


Thanks to the video on Beate's blog HERE, Aug.9th post, this slider card was easy to do and will serve as a nice thankyou.


This is also my first card where I deliberately omitted any embellishments that would add to the postage. Check back next week for my new series on Postage-Saving Embellishments!

Friday, August 6, 2010

STATE FAIR SWEEP!


Rick and I just got back from the NJ State Fairgrounds where I looked to see if I got a ribbon for any of my three cards. What a surprise to see that all three took first class in each category!

Best of all, there was an additional "Special Award" ribbon for my Christmas Distress card in the Professional category--I could hardly believe it!


This was the first year I had to compete on the "professional" level (for teaching classes,) so I wasn't too sure how my cards would stack up against other professionals.

Several thanks are in order. First, to Susan Raihala of Simplicity for her advice on moving the greeting further down on the Christmas card for better balance. I'm sure that helped sway the judges!

Second, to Dawn Lusk for her birdseed shaker card that I CASEd HERE (Feb. 1 post,) which proves she's a winner too!

Finally, to Our Daily Bread Designs and Flourishes for making such beautiful stamps to use. Winners all!

Wednesday, July 28, 2010

MAKING FRIENDS


On our family trip to New England, we drove to Boston and stayed two nights there. We spent one whole afternoon at the Science Museum where I was able to make friends with this Lily the Bear look-alike. What a great museum for kids! (and grandparents, of course...)

For more photos of our trip to Boston and Mystic Seaport, check out my Fox Mtn. blog HERE.

(For more on Lily the bear, check this out.)