Saturday, November 29, 2014

THREE OF A KIND--Winter Fenceline

This stamp set from Serendipity Stamps has been a pleasure to use, either for winter cards as shown here, or Autumn cards.  I can imagine it in summer mode with green sponging over the branches and green grass below.


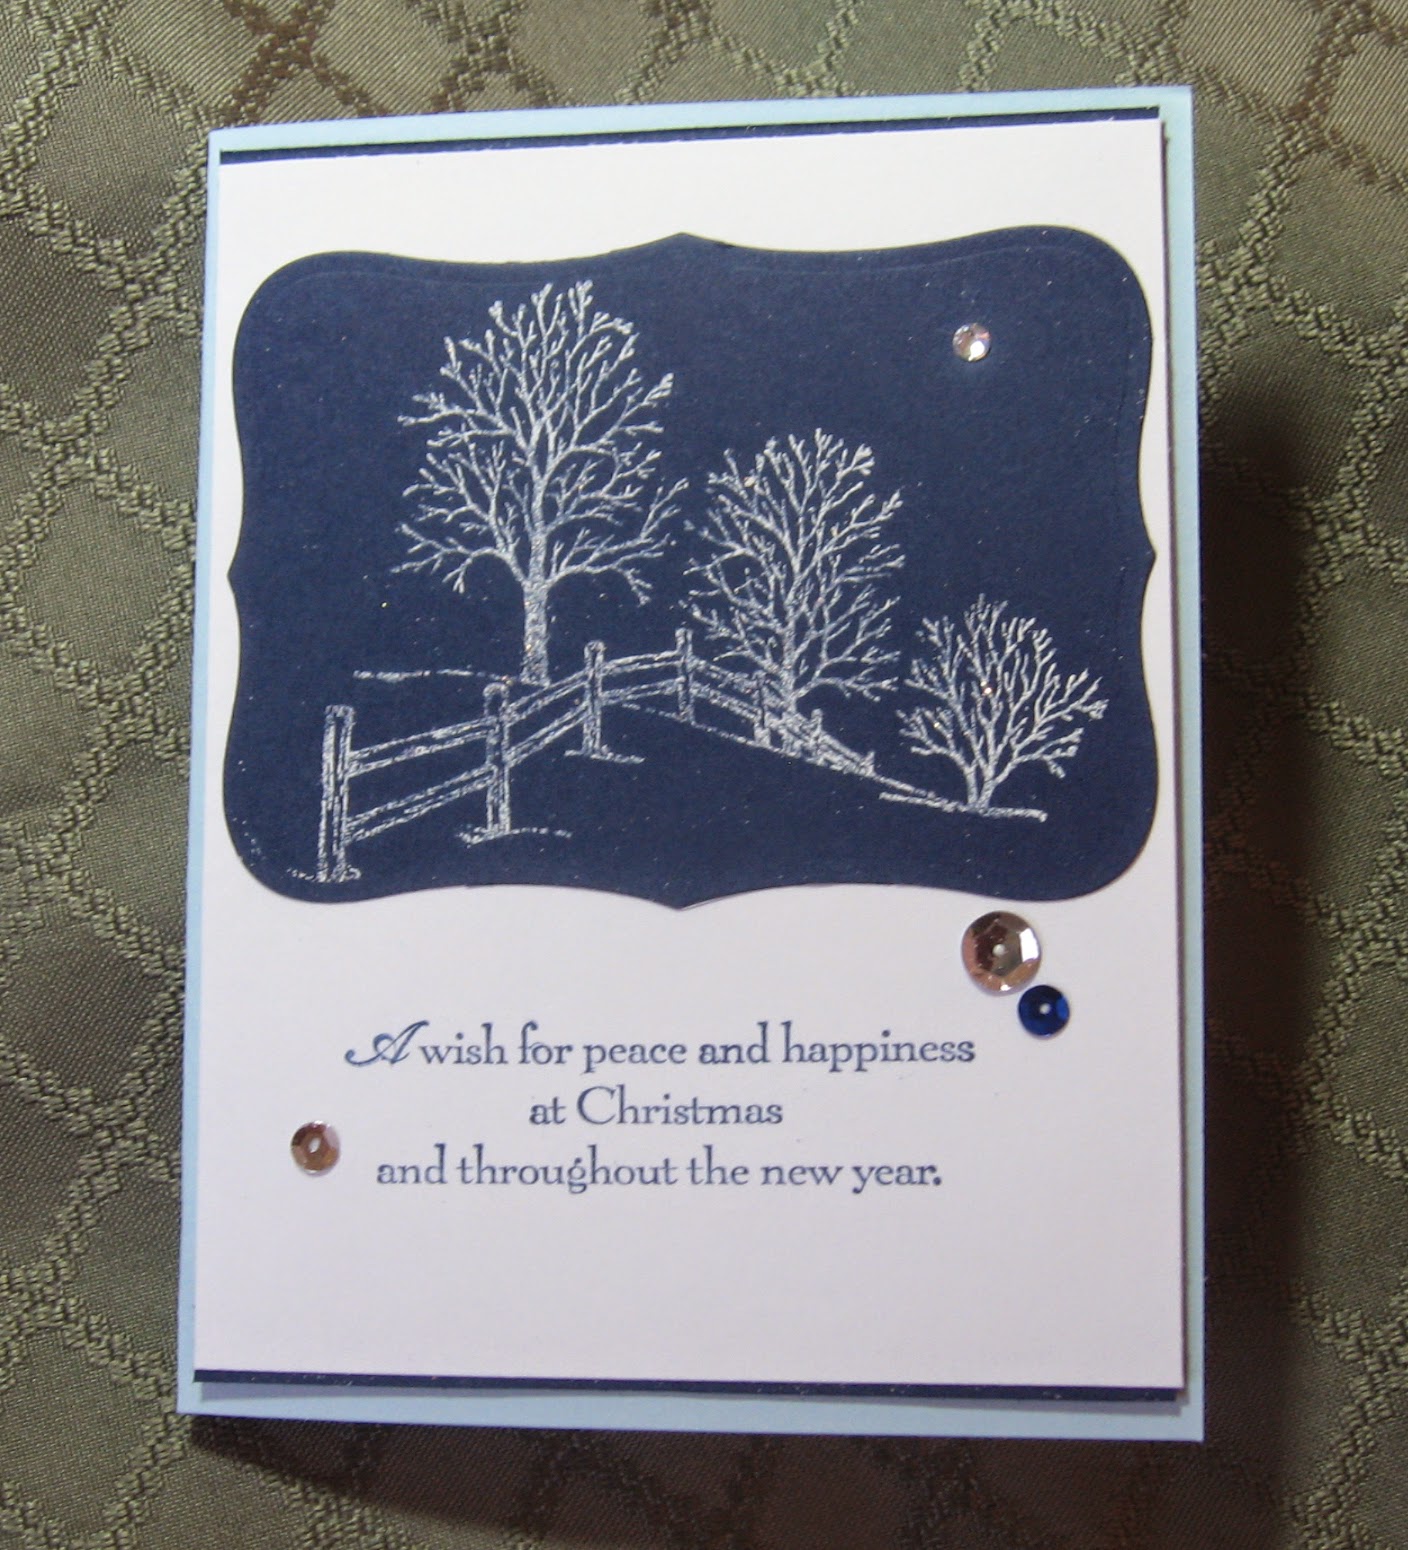
This first card was stamped on Night of Navy with a blend of white ep and glitter that I mixed myself.  After die cutting it, I glued it to a white panel and added strips of leftover Night of Navy on the top and bottom.  The greeting is from a SU set.


The second and third cards were stamped with Versafine  warm gray and sponged with Distress inks for the sky.  All I had to do next was hand write "peace" and fill in the fence with two shades of brown markers.  A little bit of Stickles Ice on the hill line and bottom of the fence posts finished it off.


For this last one, I die cut a gray tree, then added some brown marker "bark" and glued it to the side of the card.  This time I stamped "peace" and sponged the oval before mounting it to the card with a dimensional.

To give it some depth, I mounted the fenceline scene to the back of the opening with dimensionals.

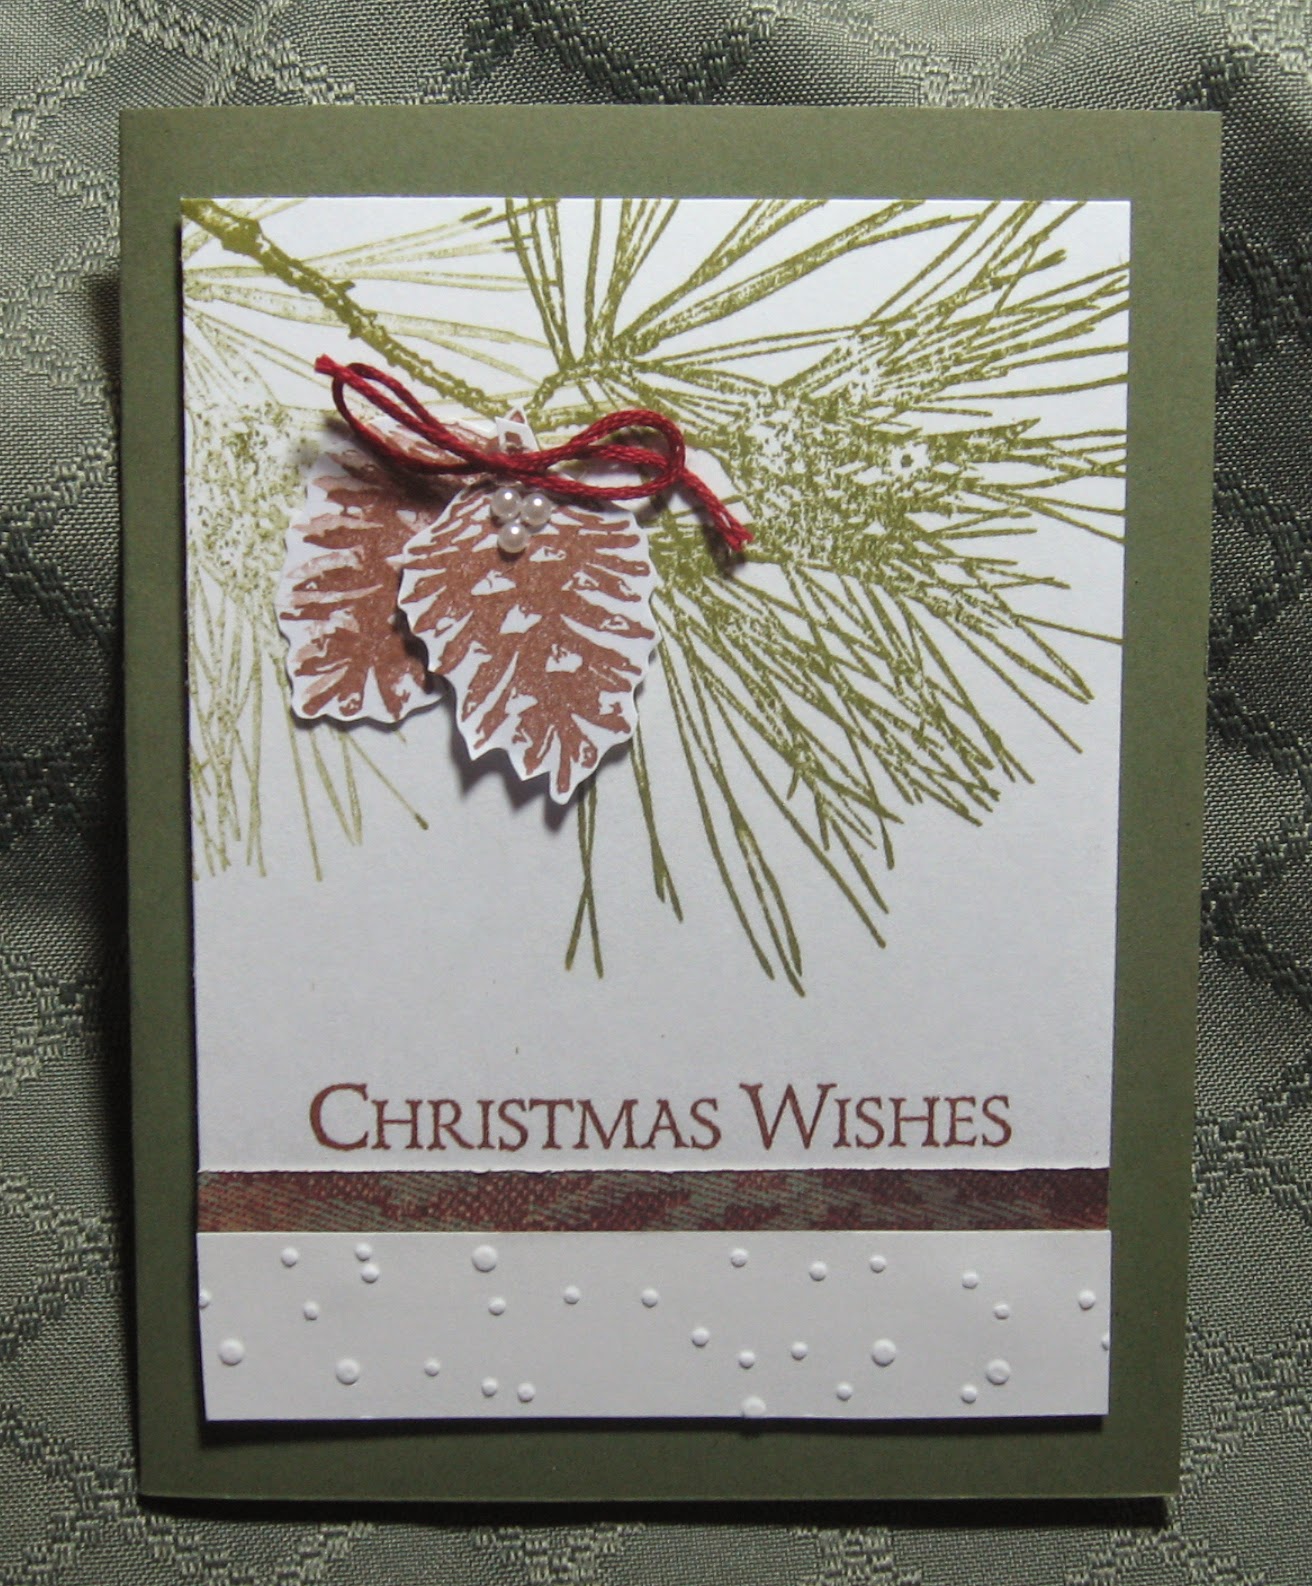
These three are extras that I added to the Christmas cards I plan to mail next week--over 100 of them!

Friday, November 28, 2014

THIRD THURSDAY TECHNIQUE CLASS

I've been attending a technique class at Cyndy's house, my SU demonstrator, (for several years now) on the third Thursday of the month.  This card was a way to use the Festival of Trees set and coordinating punch featuring 3 different trees on one card.  Nothing tricky this time, just a nice quick card in a mod color combo.  I've been seeing a lot of these colors online this year, and they're a refreshing change from the traditional red and green.

TIP:  To make a tree smaller (as shown here in the glimmer paper) using the tree punch, simply punch the tree out, reinsert it partway and punch again.  Thanks for showing us that, Cyndy!

I'm continually amazed at how versatile this set has been.  I've used it exclusively for the past 11 weeks at Mothers Class without repeating a design.  Plus, I've made a few more at home.


I was NOT dreaming of a white...

...THANKSGIVING!  (Without power, especially.)


Let the melting begin...

Wednesday, November 26, 2014

HAPPY THANKSGIVING!

Time to celebrate our blessings and give thanks for having so many of them.  Stay safe in stormy weather and don't eat too much!

MOTHERS CLASS CARDS

 Last week in class, Jackie brought materials to make these cute mitten cards with the fold at the top.  It was fun being a student for a change!

For my card, after adding the dsp, thumb tip and cuff to the plain white card provided, I ran the top piece through the cuttlebug with a snowflake ef.  The bow was a die that I ran through the cb and attached with a glue dot.  The snowflake and gem gave it that final touch.  Every card was different, thanks to all the choices we had in dsp; and all were adorable.


For the second card, I brought one that was quick and easy for the class to do after finishing their mitten cards.  First, we laid the stamp upright on the table, inked it with Versafine Smokey Gray, and pressed the white cs on it. 

After trimming down the image (I purposely cut the white cs larger than needed to make it easier) we used colored pencils on the evergreen tree and the deer. We mounted the image on the green cs, and dimensionals were used to pop it up on the kraft cardfront.  Once the snowflake and gem were added, the cards were done in less than 15 minutes!

We decided afterward to cancel today's class since it would be the day before Thanksgiving.  Now that it's snowing (5 inches already!) it seems we made the right decision.  Next week's class will be our last for 2014, a stamp-a-stack of  5 Christmas cards.

Saturday, November 15, 2014

TWO OUT OF THREE

NOTE:  Although it doesn't look it here, both these cards were done with the same colored pencils and match their red backgrounds perfectly.

I originally started out to make three cards with this new image from the Greenhouse Society (Technique Tuesday.)  However, one of the images came out blank in the middle and would have been unusable had I not layered it with the other.

The red petals were done with three shades of red.  The leaves were done with three shades of green and a brownish red.  Several months ago, I  took a class on colored pencils during which I learned to add the red (or maroon) to leaves and stems for shading.  I never would have thought that would work, but I really like how it makes the leaves more realistic.

The second card is the layered one, popped up with dimensionals.  The gold twine was wrapped around the panel three times and taped down on the back.  The bow was added with a glue dot on the front, a "sneaky" way to make it much easier.

Using colored pencils is a relaxing form of coloring images.  It's also very transportable, either when going on vacation or just out to the deck on warm, sunny days.  I love to stamp images on white cs and take them with my colored pencil tin to a quiet spot!

Monday, November 10, 2014

CHRISTMAS STAMP-A-STACK


This is the card I designed for our last Mothers Class the first week in December.  It's easy to assemble and should make a nice finale for our Fall sessions.

The top-fold card base is Always Artichoke, the die cut window is white cs, and the tree is stamped on light green cs and punched out.  The bottom corners are rounded.


To make the tree sparkle, I brushed it with a light coating of TomBow mono glue and sprinkled it with Sugar Coating glitter.  You can see how much it glistens in the sunlight in the photo below.  The star is punched from silver glitter paper and attached with a glue dot.  The tree is mounted with SU dimensionals, and three rhinestones were added for balance. 

 The inside greeting will be stamped on printer paper with Versafine Olympia Green ink.  After rounding the bottom corners, it will be attached with snail.

This year's class has been a lot of fun, and I look forward to reconvening in February.  Hopefully, the worst of winter will be drawing to a close by then!

Thursday, November 6, 2014

TISSUE BOX CHRISTMAS TREE


(See previous post first.)


One last scrap becomes a tree!  This one was decorated with red gems and a glittering gold star.  A little gold twine and some shiny sequins give this card a bright finish.

What will the next tissue box bring???


TISSUE BOX CHRISTMAS CARD


If you shop at Weis Markets, you might recognize the floral design from their tissue boxes.  After pulling up the last tissue in the box, I thought it would be a waste to throw it away (the box, that is!); so I used the side panel for the die cut on this card.

After stamping the poinsettia twice and cutting down one of them to pop up on the top, I painted the flower with Twinkling H2O's.  Then I layered the red one over the green with SU dimensionals, added yellow Stickles in the center and attached it to the card with dimennsionals.

Recycling at its best!

Wednesday, November 5, 2014

ORNAMENTAL PINE BACKGROUND

I've made a lot of cards featuring the Ornamental Pine set, but this time I wanted to try using it for a background.  The chickadee from Our Daily Bread Designs came with a coordinating die, which makes it easy use in a variety of ways.

First I stamped the pine bough a few times along the side of the panel, then ran it through my Cuttlebug with the stitched rectangle die.  After stamping the bird and coloring it with colored pencils, I used the matching die.  I cut away some unwanted branches before mounting it to the panel with dimensionals.  I added the greeting and used TomBow glue to attach both panels to the gray card.

Very easy to do!

Tuesday, November 4, 2014

PINECONE WREATH

When I saw this design (in more than one place) I knew I had to give it a try!

Using Colorbox Chestnut Roan ink, I stamped the pine cone at 12, 3, 6 and 9 o'clock.  Then I went around again in between the first four after stamping off on a piece of scrap paper.  For more of a color variation, I switched inks to an Adirondack Rainbow pad, Woodlands.  Keeping to the left side of the pad (the browns) I continued around the wreath, stamping twice without re-inking each time.

I'm amazed at how easy this was the first time around!  I finished by adding the jute bow and greeting.  Finally, I used Diamond Stickles on the pine cones to give it some sparkle.

For the Klass-y wreath which inspired me most, click HERE.
Thanks, Bonnie!

Monday, November 3, 2014

JUST A REMINDER!

DON'T FORGET TO VOTE!

Sunday, November 2, 2014

TEXTURED WISHES

Ever finish a card and feel like it needs "something" for a final touch?  That's what happened here.

After stamping the pine branches and fussy cutting the two pinecones, I added the bow and greeting; but there was too much dead space at the bottom.  At first, I added the thin strip of dsp which had the same color red as the bow.  It still needed "something" however, but what???

Then I spied a piece of embossed cs that someone sent me ages ago (Bonnie, I think) and added it to the bottom.  As Frenchie would say (on YouTube) "voila!"  It was done!

TIP:  Sometimes, all a card needs is a little texture to give it interest without distracting from the simplicity of the card.