
Saturday, May 6, 2017
Thursday, May 4, 2017
CASE of a Silver Stamper Card

Her card featured a beautiful Spring wreath stamped on a die cut with 5 large scallops. She colored it beautifully, which was quite an inspiration. So I got out my peg stamps and went for it!
The design works very nicely. Her wreath featured a bird's nest with four blue eggs. Mine has a bumble bee in the same spot, which is part of the SU! dragonfly die set.
The envelope features the same flower as the ones on the wreath, stamped over the lines from an envelope stamp set at Simon Says Stamp. The name of the set is "Sending Flowers." Very appropriate name, don't you think?
Wednesday, May 3, 2017
FANCY FOLD CARD

Starting with a scalloped circle die, I cut the dsp, added the dragonfly and the sentiment, and punch out 2 flowers from the back of the same dsp scraps.
The flower on the right acts as a lock to hold the card closed. I wrote a note on a piece of white paper for the inside. For a final touch, I added Wink-of-Stella (clear) on the dragonfly wings.
Tuesday, May 2, 2017
LAST CLASS

The silver under the butterfly wings is from a pre-pasted sheet which apparently was too thin to be separated after die cutting it. Here's a TIP on how to overcome that problem:
Cut a piece of the glitter paper, peel off the backing and apply it to a piece of scrap cardstock. Then run it through the Big Shot with the die, add the wings on top and attach to the card with a dimensional. Problem solved.
Another problem solved was how to use dryer sheets with the butterfly die so the little pieces would not have to be poked out. (Takes forever--ask me how I know!) Simply die cut as usual, but then run the die, with the pieces still in it, through the machine face down over 4-6 layers of dryer sheets. When you peel off the wings, the little pieces remain embedded in the dryer sheets. No more mess!
Sunday, April 30, 2017
BIRTHDAY CARD FOR MY SISTER

The bird is from a SU! die set, and I love this bird in particular. Very easy--just cut and attach with a dimensional.
After adding the flower and gem, and some Wink-of-Stella, the card was done.
Saturday, April 29, 2017

Thursday, April 27, 2017
PAPER PLAYERS #341--Sketch Challenge

Using my peg stamps, I created a "swoosh" of flowers and leaves, then added the bow. The leafy panel is from a SU! pad of vellum designs.
The same peg stamps were used for the bottom corner of the envelope.
Friday, April 14, 2017
IT'S HERE, IT'S HERE!

--filled with lots of goodies for making this first card and others. The surprise gift from Sara was really nice, too! It was used here, but I won't spoil the surprise.
The black cardstock and envelopes give the cards a modern look. The stamp set included has mix and match words to use for a nice saying like this one. The envies have a white area for the name and address, and the inside is lined, too.
Friday, April 7, 2017
VELLUM COLORING

This card came out ok, but it would have worked better to have chosen a flower with petals that were merely an outline so that the coloring showed up more. You may be able to see the shimmer on this one if you click to enlarge it.
Stop in again later for another try at this technique with a better image.
Wednesday, March 29, 2017
THREE OF A KIND--Psalm 145:18

These are pastor cards which I will deliver today. I did them assembly line style in no time!
Tuesday, March 28, 2017
THREE OF A KIND--Global Design Project #080

I made these three cards for a CASE challenge, but couldn't decide
which one to use; so I decided to display all three in one photo.
I think I like the one on the right best (even though it has a lot of pink
in it!) The bottom butterfly was cut from a piece of black cs
and coated with gold Wink-of-Stella.
The brown card features leftovers from a previous card.
The blue card will make a nice all-purpose card
for future use. The larger butterfly was punched from a scrap
of the light blue cs and sponged with a darker blue so it would stand out.
If you'd like to join in the challenge, just click HERE.
Sunday, March 26, 2017
INTERLOCKING GATE CARD

The main thing to remember about any gate card is to put your adhesive on one side only. With an interlocking one, you need to add adhesive on the opposite side of each piece.
The chocolate bon-bon here is used to keep the card closed. I made it with the fox punch and trimmed the bottom--otherwise, it looks like a hat. If you don't have brown glitter paper, it also looks chocolate-y with gold Wink-of-Stella on brown cs.
Of course, you have to be careful not to leave chocolate finger prints on this card while you're putting it together!
Saturday, March 25, 2017
MARCH PAPER PUMPKIN

First, I followed the instructions for the bunny bags, except that I also stamped the whiskers on the back to highlight the bunny tail. The bags (empty for now) are adorable! I decided to use them as place cards at the dinner table.
That gave me an idea for the adults at the table. Instead of making a tiny card, I cut off the dsp side of the card to die cut as flowers at a later date. After wrapping the bakers twine around the square, I attached the square to the envelope front with Fast Fuse. I added the bunny tail on the back of the envelope which will be used to hold a Ghiradelli chocolate square. As you can see here, I plan to write each adult name on the front and place them on the appropriate dinner plate.
I'm looking forward to using these for a festive Easter dinner table!
Saturday, March 18, 2017
DISTRESS OXIDE INKS--first try

First I used the smooshing technique on watercolor paper for the butterflies using the 3 colors shown. For the front of the card, I inked up a background stamp with Broken China (blue) and spritzed it with water for a vivid effect on the kraft panel. I then mounted the panel on a Very Vanilla card base.
Since I had one more butterfly left, I used it for an Easter card shown here:

Thanks for all your well wishes. I'm starting to feel better today, so I guess the antibiotic is working. Just two days ago I thought the cat was meowing next to me, but it turned out to be me wheezing--ugh! The wheezing is gone, and I'm beginning to have more energy. So glad to be back in the Tower, even if only for 2 cards!
Thank you for your comments. I truly cherish every one of them.
Friday, March 17, 2017
BIRTHDAY OWL

This was for my grandson who turned 8 last month. He wore an owl costume in his last school play, so it seems appropriate.
I managed to make some cards yesterday using leftovers from last year's April Paper Pumpkin. It was nice to get a bunch done with little effort. They're all addressed and ready to go for the April birthdays on my list.
One positive thing from being this sick: Rick made dinner for us last night! (Marie Callendars Chili Pot Pie--yummy comfort food.)
Friday, March 10, 2017
FLORAL DIE CUT

I've seen many cards with a die cut that was stacked and reinserted into the cut space and finally got a chance to try one myself.
Here's a TIP for gluing delicate pieces:
Squirt some TomBow Mono glue onto a silicone craft mat. Place the die cut image or word upside down on the mat and dab with a craft sponge to apply the glue. Adhere to card-- no more oozing!
Tuesday, March 7, 2017
BIRTHDAY BLOOM

Sometimes I use my dies so much, I forget that I also have handy punches. Since I have all three sizes of flowers, I used them to make this coordinated blossom, held together by a gold brad in the center. After adding the gold and melon twines, I mounted the dsp panel to a scalloped panel and foam taped it to a colored cs base. The greeting was stamped in green Versafine ink and attached just above the twines.
Quick and easy!
Saturday, March 4, 2017
GREEN CHALLENGE

Starting with the top fold card base, I used Versamark to stamp around the edges with a background stamp. Next, I added the vellum.
For the topiary and greeting I used various green inks. The tree pot was stamped on green cs, fussy cut and mounted to the panel with foam tape.
The embroidery floss and sequins fit the color scheme perfectly. For the final touch, I spattered some green ink with a brush and mounted the panel with foam tape.
This was a fun Curtain Call Inspiration challenge!
Friday, March 3, 2017

Thursday, March 2, 2017
ROSE BLOCK

I colored the image with pencils and mounted it on a piece of gray dsp and then on top of a very narrow piece of Garden Green cs. Putting it aside for a moment, I used a 3D ef for a basket weave panel, then mounted everything on the card front.
Easy card! (I added a few tiny green sequins after the photo was taken.)
Wednesday, March 1, 2017
EASEL BACK FOR A TOP FOLD CARD
By popular demand, I am doing a card class next Tuesday for 2 of my friends at Bible Study. This is the card I came up with; but with its ragged edge at the bottom, it won't stand up on its own. So I came up with an easel for the back of the card. Problem solved!

The side view shows how the easel keeps the card on display. (I used white here so you can see it better.)


To attach the easel, using a strong adhesive between the fold and the outer edge, mount the easel so that the narrow part is flush with the bottom of the card. Open the flap to a 90 degree angle to make the card stand up.
I hope this easel construction makes sense!
PAPER PLAYERS 333--Sets of Three

Making this card was much easier than it looks. First, I stamped the chicken wire, cut it down to a strip, and then mounted it on a slightly larger yellow strip. Next, I punched through the double strip for the 3 holes that would show the chicken parts. Then I stamped the chicken parts on squares, taped each one on the back and mounted the finished strip onto the card front with dimensionals.
After stamping the rooster on the front and coloring him in, I added his "call" on a tiny strip of yellow.
For the inside, I stamped the whole bird, colored him in and added the greeting.

Tuesday, February 21, 2017
FOREST FRIENDS

The fox on the left was punched from Cajun Craze cs, and the rest of the pieces from a scrap of confetti cs. The birthday greeting is from a wood SU! set.
Using a template that I punched on a large scrap of confetti cs, I stamped the body, head and tail through the template and punched all the pieces together as shown on several YouTube videos--much easier. Once assembled, I mounted the fox on a thin piece of the tree stump and added some copper hearts.
Monday, February 20, 2017
JUST US GIRLS #381--Color Week

To start, I loosely traced a few circles in black to create a wreath. Next, I added some funky twigs with one of my peg stamps.
After adding some tiny white flowers (with another peg stamp) I stamped the three large flowers in red. Since I wanted them to be bold, I colored them in with Hot Cinnamon H2O's, leaving the white centers. Next, I fussy cut them and attached them to the wreath with glue dots.
The sentiment was stamped in white onto a black scrap and embossed in white to make it stand out. For final touches, I added some black spatter, a white ribbon and a rounded corner.
Sunday, February 19, 2017
PAPER PLAYERS 332--Sentiment

As for the card, the challenge was to make the sentiment the focal point, and I chose a stamp that had some bold lettering large enough to fill up a lot of the space. For the design at the bottom, I used the top half (upside down) of a split stamp set from Papertrey Ink.(Just a Note.) I stamped it in green to match the SU! dsp underneath.
We're having some unseasonably warm weather here in NW NJ, so I've been airing out the house a bit and getting a head start on Spring Cleaning. I'm looking forward to longer, less dreary days ahead!
Monday, February 13, 2017
THREE OF A KIND--Cats

Are these the cutest faces? They are from an old Hero Arts set of 4 wood stamps.
The card on the left is also being entered in the CAS challenge for use of corrugated cardboard.
(Click on photo to enlarge.)
AN APPLE A DAY NONSENSE!

I used a smaller sized card for this one so that the saying could take center stage. The apple was stamped twice, once on red and once on green for the leaf, then fussy cut and mounted with a dimensional.
I hope you got a chuckle with this one!
Sunday, February 12, 2017
CAS MixUp February Challenge--Corrugated Cardboard

The theme for February is to use Stamping, Corrugated Cardboard and another choice. For my choice, I die cut the daisies.
This will also become a Pastor card now that I've posted it.
The challenge details and cards submitted can be found HERE.
Saturday, February 11, 2017

Friday, February 10, 2017
CASEing the iPad--Daisies

Using Peeled Paint and Wild Honey Distress inks, I started by sponging the area that would be showing from underneath. Next, using a piece of linen textured cs, I die cut the wave and mounted the pieces with dimensionals. Then I added the daisies with glue dots.
For the greeting, I chose a polymer stamp that could be curved and stamped along the curved edge.
Thank you, Birgit, for your inspiring card! (To visit her blog, click HERE.)
Thursday, February 9, 2017
DORIS DOES PINK??

Dawn McVey posted her Christmas Thank Yous, and I just loved them--so, of course, I CASEd her design. To make it a little simpler, I die cut the top panel and attached it with dimensionals. after stamping the leaves and flowers.
The purple blooms were done with one of my tiny peg stamps which I inked up once for each bloom and repeated the stamping to make them look like lilacs.
For the greeting, I chose a less bold font to coordinate with the airy-ness of the flowers.
Dawn's blog is HERE.
ONE LAST VALENTINE--Just in Case

The wooden pieces show up beautifully (IMHO) on white, especially a white-on-white card. The card base is regular white cardstock, but the tag is textured and mounted with dimensionals...(not to be confused with "dementia.")
Now that the storm is over, the sky is bright and the sunshine is reflecting off the 6" of fresh snow. It's very pretty, but will not last long. The forecast calls for temps in the 40's for the weekend.
I'll also be posting this card on the Paper Players Challenge blog HERE.
Wednesday, February 8, 2017
ANOTHER FAMILY VALENTINE

Before placing the vellum panel on the card front, I embossed the front of the card with a hearts ef to give it some texture. Using gold foil for the small hearts and "love" gave it some shine.
No pop-up this time--just a quick and easy card that says "Happy Valentine's Day" inside.
Tuesday, February 7, 2017
FAMILY VALENTINE

Once again, I got to use a $5 stamp set from Papertrey Ink. (The "Love" greeting was a coordinating die for another $5.) Since hearts and flowers go together, I used a blossom from the SU! Botanical Blooms die and stamp sets, plus a Martha Stewart punch for the leaves.
Inside is a pop-up of hearts using the same dsp and solid red cs.
Monday, February 6, 2017
THREE OF A KIND--Dragonflies

I don't see any dragonflies here in New Jersey during the winter, so it's uplifting to see something summery on a card. These were all easy to make, and they will be going to our pastor for his use.
Saturday, February 4, 2017
THREE OF A KIND--Snowflakes

Since no two snowflakes are alike, these aren't either!
I came up with a much easier way to "quilt" these snowflakes.
First, I die cut each and mounted them on a square of dsp.
Next, I added just the vee pieces so that there would be some contrast.
After mounting them on the card with dimensionals,
I punched out the greeting and used dimensionals to adhere them also.
Then I placed a gem in the center of the snowflake.
Done!
Friday, February 3, 2017
BUTTERFLY LOVE

Due to the lack of border on this heart, it has to be cut on a larger shape (like this rectangle.) Later on at Evelyn's house I die cut a large heart and ran it through this die to get a heart border. Either way looks fine, but you would need the heart die to do it that way..
Sunday, January 29, 2017
VALENTINE POPPIES

The stamp I used inside is "Happy Valentine's Day" from a SU! set of "Wacky Wishes." This is also a pop-up card with various sizes of hearts that pop up when the card is opened.
LOVE IS IN THE AIR!

I've been working on pop-up cards for Valentines. This is a very easy way to do it, and it gives the card an element of surprise.
I hope to move on to another kind of pop-up soon. For this one, I used a half sheet of typing paper, folded it to make the mechanism, and mounted the butterfly and hearts on it. You can find dozens of videos for this and many others on YouTube.
The inside greeting is from a new $5 set I ordered from Papertrey Ink, plus the matching die.

Saturday, January 14, 2017
A TROPICAL THEME

Some tropical frogs can be venomous, while they are disarmingly colorful. These were fun to watercolor, as was the jungle foliage. I used some Wink of Stella clear to add a little sparkle.
Not shown is the added piece of watercolored foliage on the lower left triangle of the inside. This year, I plan to pay more attention to the inside of my cards, as well as the envelope.
Just a note that when I came back to my stamping table where I left this card overnight, a stink bug had the nerve to be sitting on it. Needless to say, he is history!
Friday, January 13, 2017
WATERCOLOR BACKGROUND

I'm still not sure what I want to do with this card. It most likely turn out to be a birthday card in February. I don't know whether to leave it as is or add a sentiment somewhere. What do you think???
BIRTHDAY CARD FOR A FLORIDA FRIEND

This tropical drink is from a coloring book. After coloring with Distress inks, I cut it out and mounted it on fun foam. I then added some Wink of Stella on the flower and some bubbles rising from the glass.
Inside, I hand wrote "Have a tropi-cool birthday!"
Monday, January 2, 2017
JANUARY BIRTHDAY

This card was done with the Stampin'Up set, "Painted Petals." After stamping the flowers and sentiment, I splattered some green ink on the panel and mounted it as shown.
One positive thought about winter: now that the leaves have fallen off the trees, the sun shines through even brighter. I truly enjoy spending afternoons by the window in my "tower" which is on the west side of the house.
ENCOURAGEMENT CARD
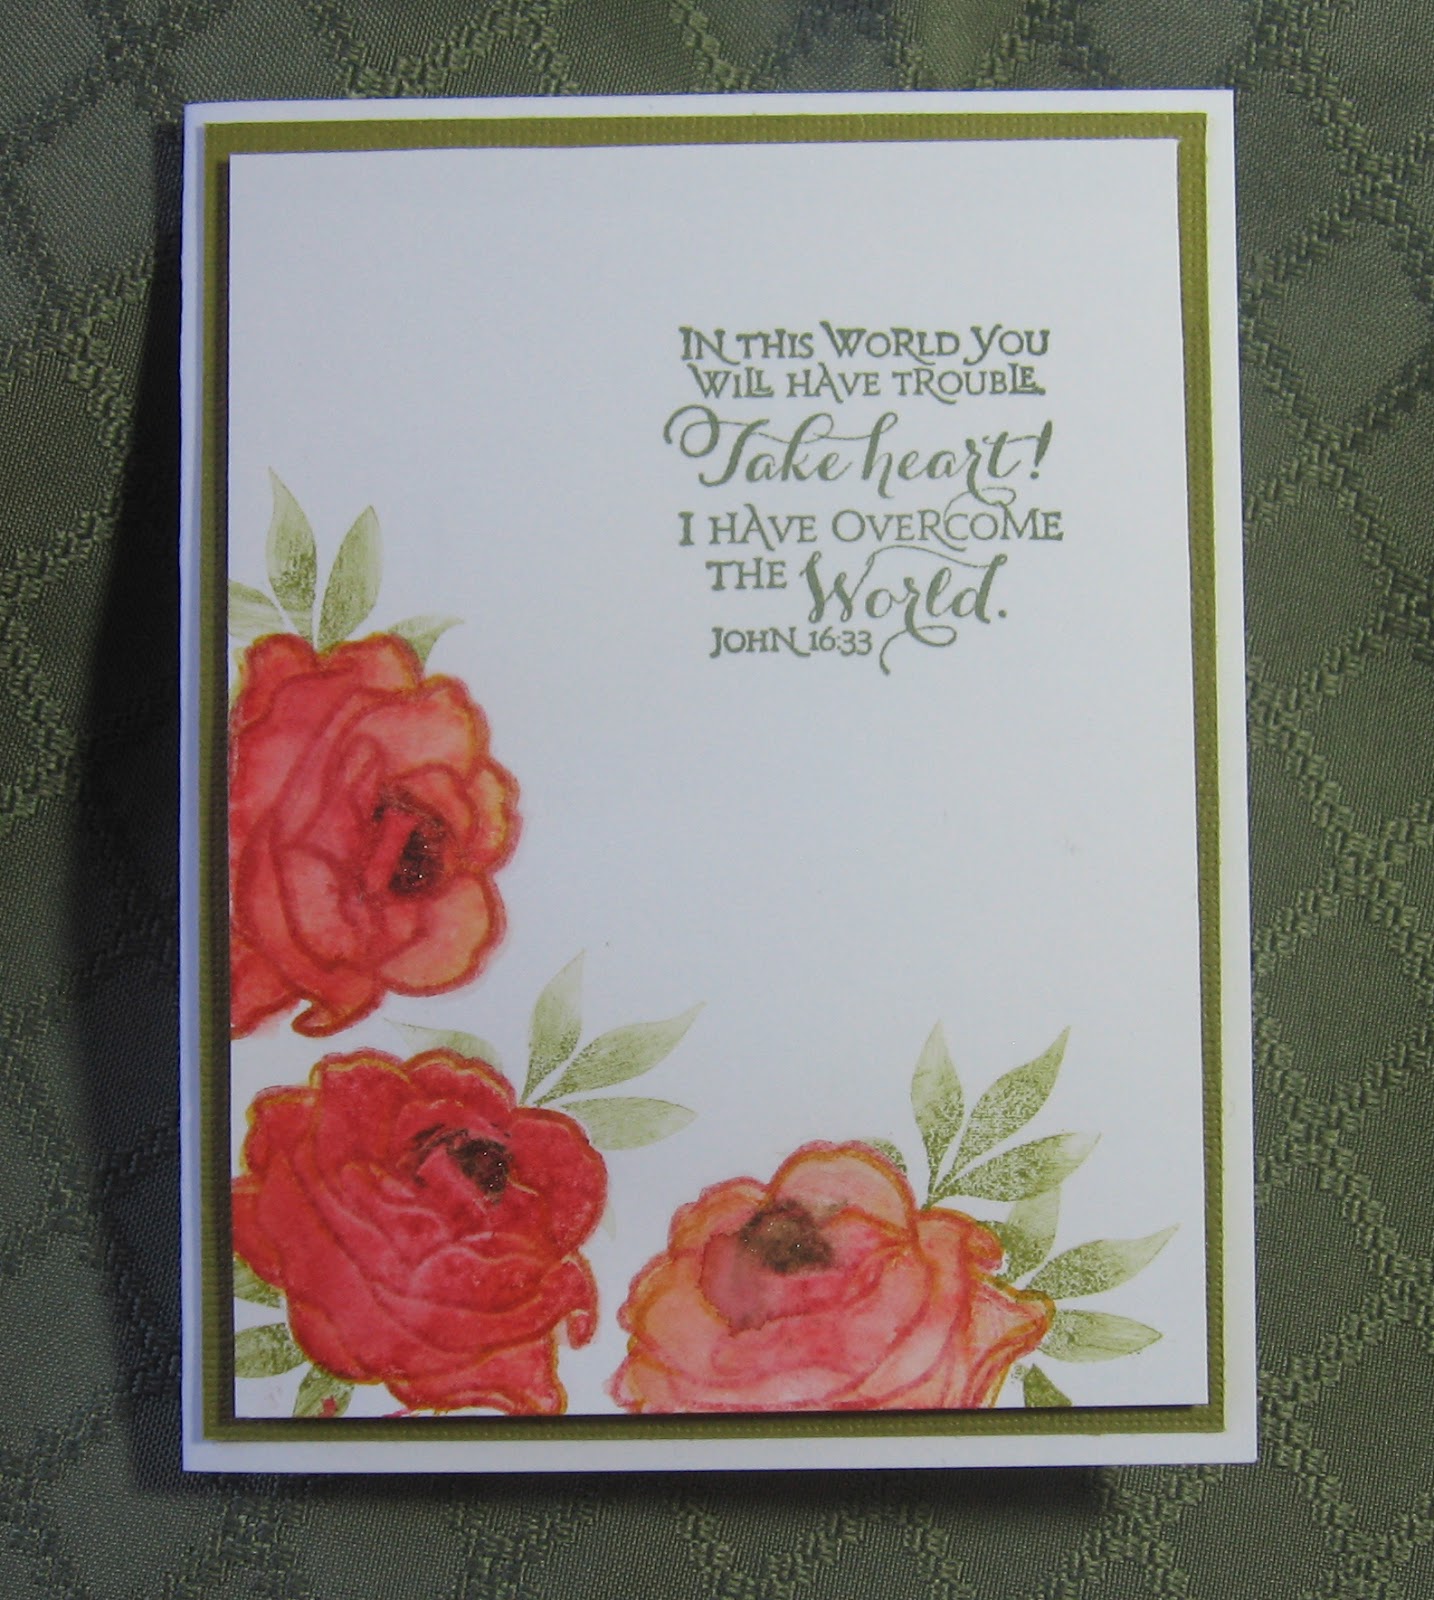
This is one of the most encouraging verses to send to someone going through difficult times, along with a personal note inside. I think that's what card making is all about, don't you?
Sunday, January 1, 2017
FIRST CARD OF THE NEW YEAR

Well, at least I can enjoy some flowers in the Stamping Tower, starting with these from an older Stampin' Up set. After stamping the blooms and leaves with Distress inks, I brushed them with water to spread the color around. Then I cut them out and mounted them as shown over an embossed oval. For embellishment, I used some sequins and added yellow Stickles to the flower centers.
Once the Christmas tree and other decorations are put away, I'll start bringing home fresh cut flowers from the supermarket. My favorite are the tulips!
HAPPY NEW YEAR!
It's been a busy holiday season, shopping, decorating, leading my de-cluttering class and having some fun with friends. I look forward to getting back to card making after taking the month of December off to do other things.
For starters, I just ordered a book on Amazon that has ideas and instructions for making all kinds of simple to intricate pop-up cards. There are also YouTube videos by the same author to help visualize the process. It should be interesting and challenging.
Meanwhile, I hope you all had a wonderful Christmas.
Subscribe to:
Posts (Atom)