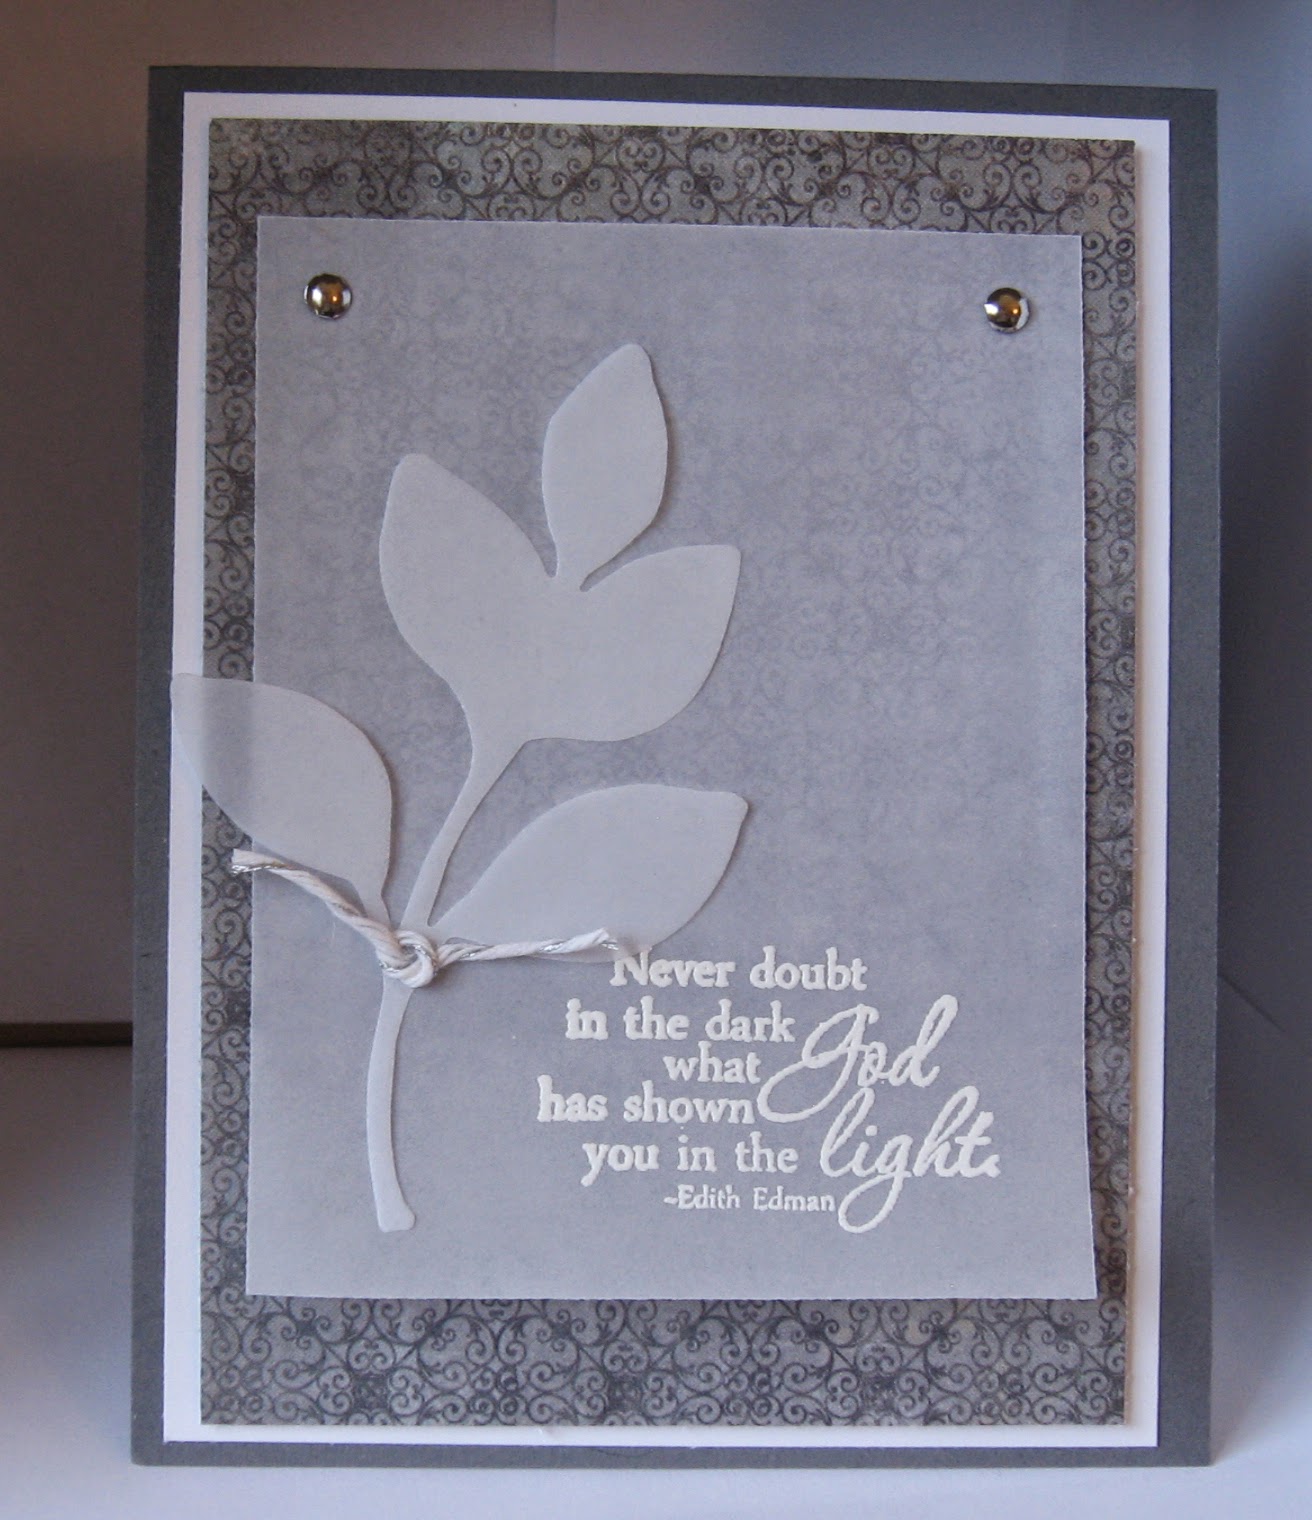
After watching a video on YouTube today, I was inspired to try making 4 cards from one sheet, except that I wanted them to be rectangular instead of 4 inches square. Here's what I came up with:
After making the cuts as shown, I had four strips of 4x8" and one leftover 4" square, just as in the video. (First photo.)
However, I scored them at 4 1/2" which left the front flap 1" shorter than the bottom, making a rectangular card 4" x 4 1/2." Then I went through my scrap drawer for a strip to match the purple cs, punched the border and glued it to the front flap. Using a green cs scrap, I cut a 1/8" strip and glued it over the dsp.(Second photo.)
Before going on to the front of the card, I glued a piece of white cs to the inside.

Next, I die cut two dragonflies, one out of a lighter purple scrap and the other from a scrap of vellum. Then I cut the wings from the purple dragonfly and mounted the body over the vellum one, mounted it with foam tape and coated the wings with Crystal Stickles. Finally, I stamped the greeting on another green scrap and glued it to the card front--done!
(Third photo.)
Now that I've found a way to make better use of the 12x12" sheets in my stash, I'm planning to use this size for some of the smaller images I have.


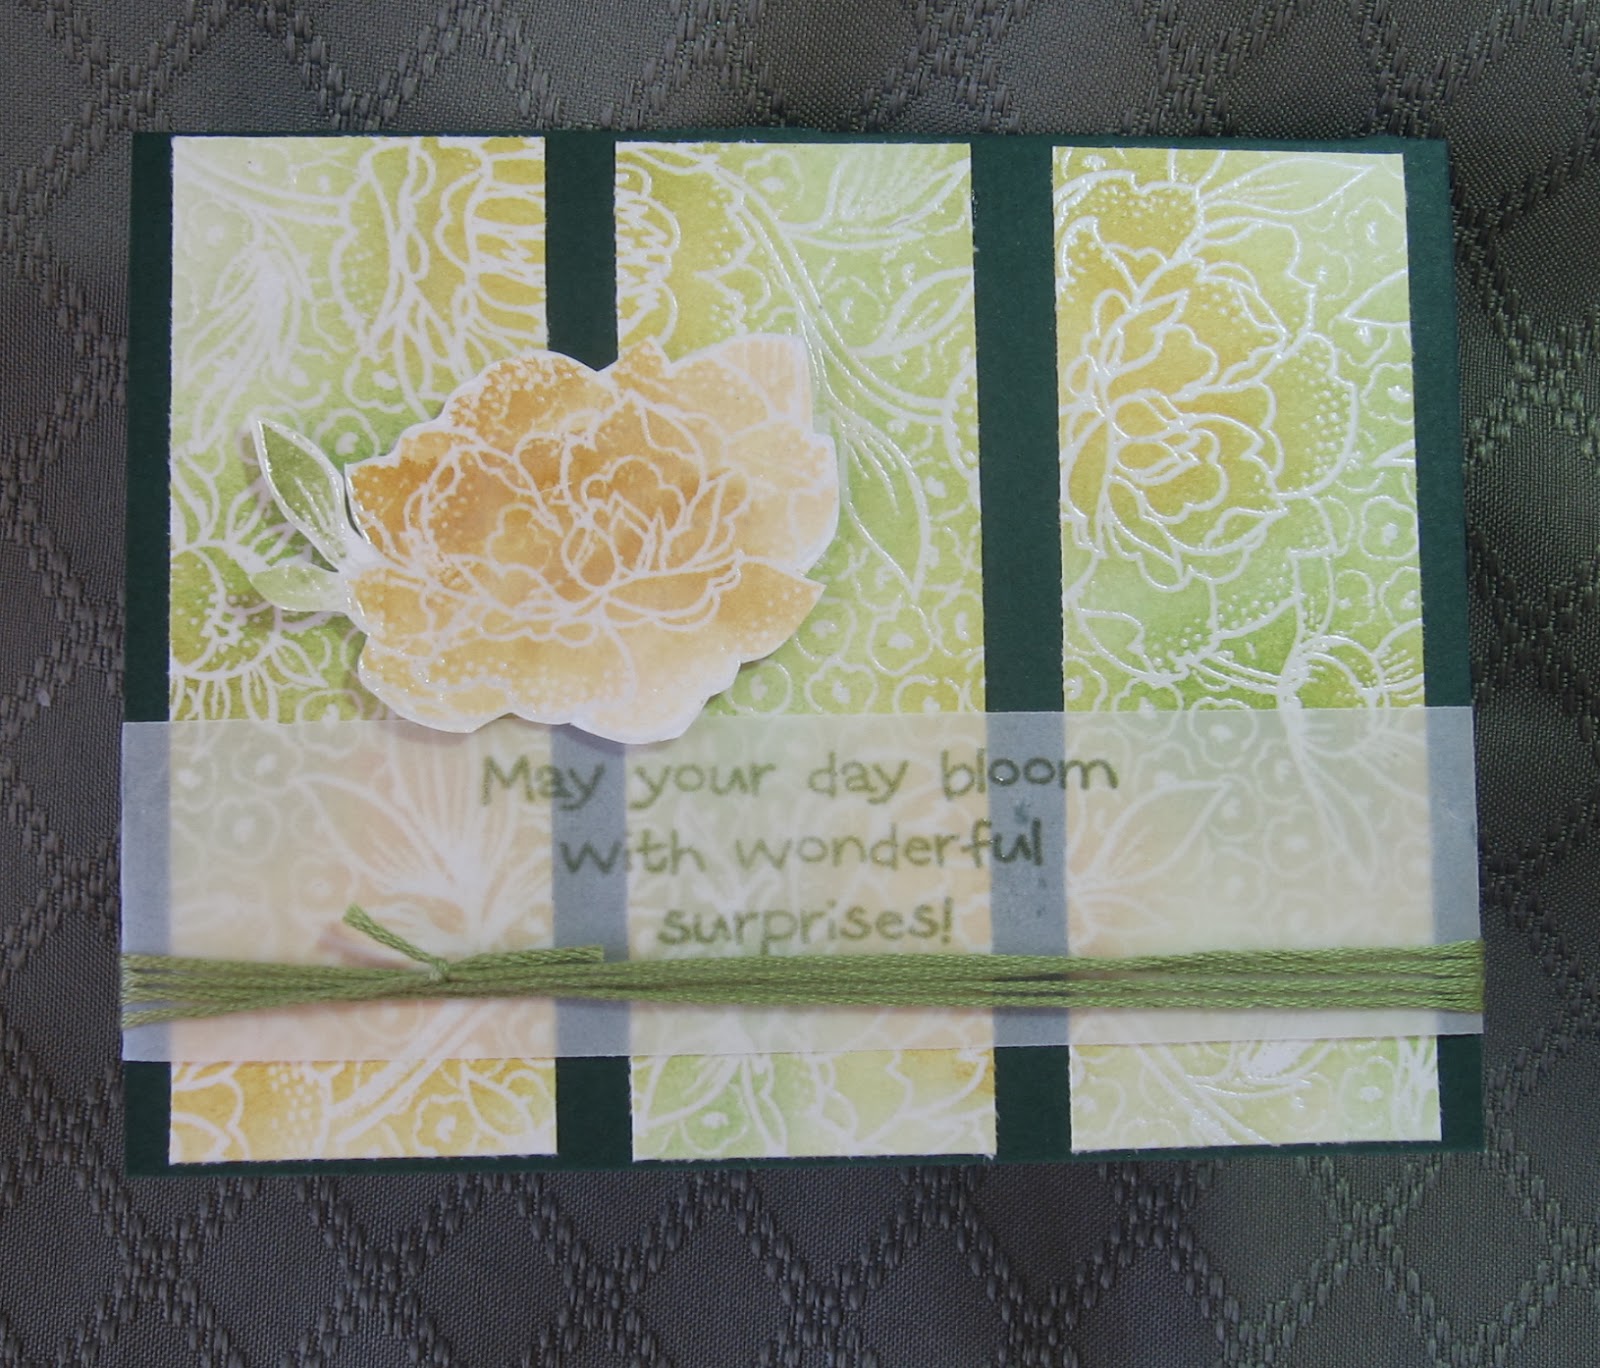


 After watching Julie Ebersol's video, I just had to give her design a try. For the background, I applied Tumbled Glass, Broken China, Peeled Paint and Wild Honey Distress inks onto an acrylic block. Then I applied the colors on a heavy cardstock panel with my aqua painter.


