Sunday, June 25, 2017

ANNIVERSARY THANKYOU

Last Sunday our daughter hosted a Golden Wedding Anniversary party for us at her home, and this was the thank you card I sent her.  The flower is glued to the bottom left of the embossed square barely visible in the photo, but visible IRL.

This card is very appropriate in style since she decorated the table and even the cake in white on white with gold accents.  Our whole family was there, including my sister from Long Island.  They showered us with gifts, which are much appreciated.

I can't believe how fast the last half century has gone by!

Monday, June 12, 2017

SILVER STAMPER FUN--Part Two

Aren't these caterpillar bookmarks adorable?  Linda brought everything needed to make these during her visit.  We made them while Joan and Joyce were here, and I made one for each of my two youngest grandsons who are also avid readers.

To hold the circles together, we used  glue sheets folded over, adding the eyes on top.

Scroll down for Part One of the amazing Silver Stamper visit!.

SILVER STAMPER FUN--Part One

This past week I had a wonderful visit from two Silver Stampers, Linda (from Minnesota) and Sheila (from California.)  They arrived Thursday just before 5 pm, and we were stamping by 6!  We made some summer wreath cards with my peg stamps, then had some grilled chicken and homemade salads for dinner.  What adventures these two ladies have had so far on their drive across our beautiful country!

The next day, we set up the dining room table for experimenting with Color Burst.  This card is one of those I made after spritzing with water, adding blue and purple CB particles and spritzing again with a water/Perfect Pearls mix.  We had a visit from Joan and Joyce who dropped in to say hello to the adventurous travelers.  After making some adorable caterpillar bookmarks (separate post,) we headed for lunch at the local chinese restaurant.  We later returned for a game of Mexican Train (dominoes) on the back deck.

After relaxing for awhile, the next project was re-packing Sheila's car for the next leg of their journey in the  morning.  The trunk and back seat were packed tight, although wisely allowing the rear window to remain unblocked.  Their plans are to continue to Maine where they can take the ferry to Nova Scotia, then travel back west on the Canadian side of the St. Lawrence with stops along the way.  They will visit with one of Sheila's daughters before crossing back over the border to the US.  Linda won't be getting home until August 5, and Sheila shortly after that in San Diego.  What an amazing way to see the country!

Imagine my surprise when I saw that this week's challenge was to use Color Burst powders!  HERE is the link for the challenge.


Saturday, June 10, 2017

BIRTHDAY CARD FOR A LIFELONG FRIEND

For this card, I used a SU wood mounted set from 2006 and watercolor pencils.  After coloring and mounting the image, I added the silver embossed sentiment and some tiny gems for the flower centers.

Inside, I wrote my own message:

"Birthdays are no longer about how old we are; they're all about how long we've lasted!"

I think  this is very appropriate for a milestone birthday.

Tuesday, June 6, 2017

BIRTHDAY TWEET


Since tweeting is "in" these days, I made this card for a friend.  It was a quick card to make, and a masculine one as well.

Inside, there's a tiny wooden bird "tweeting" out a birthday message.

Monday, June 5, 2017

JUST US GIRLS--Die Cuts

It seems like I've been using dies more than stamps lately--how 'bout you?

This card used a total of 4 dies and 2 punches.  The fishtail frames are from Die-namics, and the leaves are from one PTI die snipped apart and glued in place at the stem end.  One think I like to do when attaching a flower or leaf is to glue just enough to keep it on the card, but loose enough so it  doesn't lay flat.

The butterfly antennae are made with blue wire and held on the back with a glue dot.

Check out the other entries for this challenge HERE.


Friday, June 2, 2017

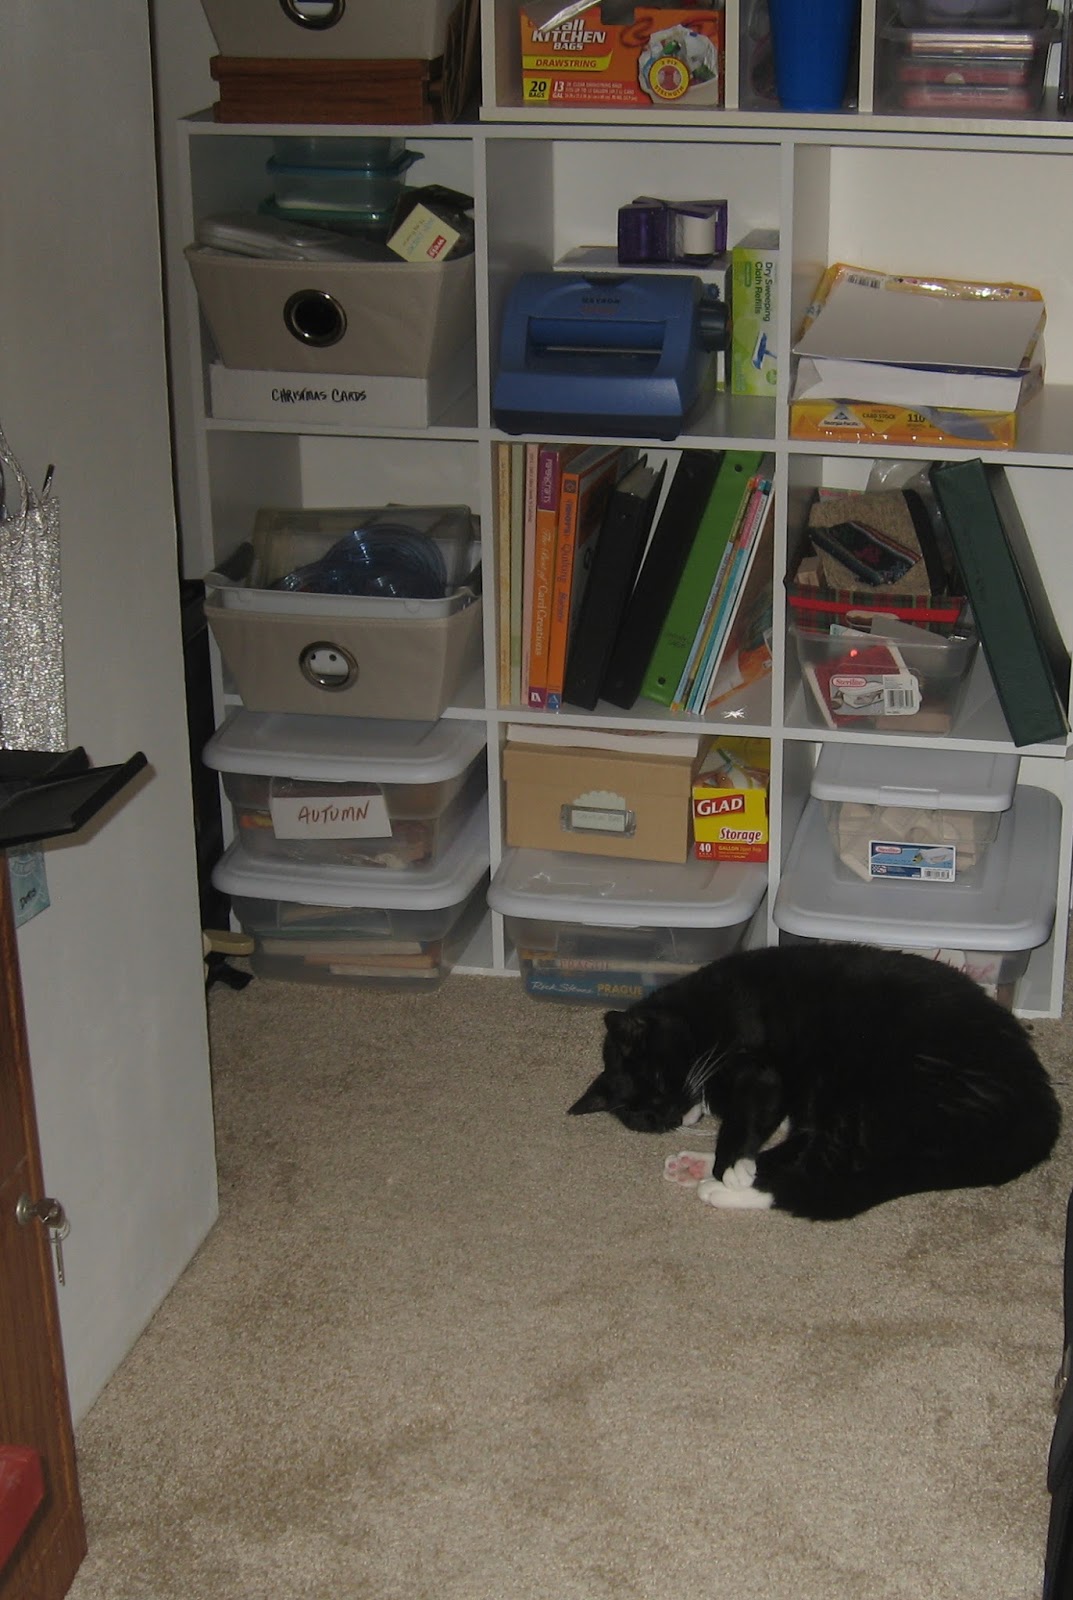
CAT IN THE CLOSET!


I finally cleaned out my closet, determined to get everything off the floor.  Jenny appreciated that...

Tuesday, May 30, 2017

STAMPERS, START YOUR CREDIT CARDS!

Here's a use for credit cards that a husband can love.  All it takes is an old credit or gift card, three or four Distress Oxide inks, some water and cardstock.

For this card, I chose Broken China, Peeled Paint and Wilted Violet; and I smeared them onto a craft sheet.  Should have been easy, but I messed up my first attempt.  Instead of water, I sprayed the inks with stamp cleaner--is that dumb or what!  Once I figured out what was wrong, I started over again, with my water spritzer--much better.

All you do is take your credit card, swipe the edge into some ink (one color per swipe works best) and spread it on to white cardstock.  I added some black lines using the edge of the credit card and a black ink pad.  Let it dry while you proceed with your design.

For my design, I started with a piece of  Marina Mist cs cut to 4x5 1/4".  After cutting out the middle (and saving it for a future card) I glued it to a white card front.  Next, I die cut the inked cs with the same die (Lil Inker) and popped it up in the empty space with dimensionals.  I noticed a piece of glitter paper that matched the card color, so I added that a third of the way up from the bottom.  Then I die cut the violets (Poppy Stamps) and attached them with glue dots under the leaves.

For the finish, I punched a small butterfly from a piece of scrap, sponged the edges with Wilted Violet and added some pearls for a body.  In spite of my earlier mistake, I made it to the finish line with a card that turned out better than I thought it would.  Whew!


Monday, May 29, 2017

JUST US GIRLS #395

Since I have no weddings or anniversaries on the calendar (except ours--our 50th) I made this card an all purpose one instead.

With an all-white card, texture is a necessary element.  I also added some shine with the greeting done in silver embossing.

Thanks for the inspiration HERE.


NOTE:  Be sure to scroll down for the Paper Players challenge.

PAPER PLAYERS #346

I think this coordinated stamp/die set, "Botanical Blooms," is THE BEST set Stampin' Up has ever come up with!  I love the dsp, and the dies are to die for.  (intended pun, sorry...)

The Paper Players sketch was a joy to work with.  The dsp does most of the work for this card, and the floral centerpiece gives it focus.

Other cards using this sketch can be found HERE.

Friday, May 26, 2017

APRIL PAPER PUMPKIN ALTERNATE

I turned this one into a butterfly birthday card, and I love how it turned out (if I may say so myself.)

After water coloring the heart, I ran it through the Big Shot with the butterfly die and mounted it over the striped paper supplied in the kit.  After attaching the butterfly with foam tape, I slipped two snips of black cs underneath for the antennae.

The greeting, which fit the tag better, is from another SU! kit.  The b'fly body is just two of the "sprinkles" from the May Paper Pumpkin kit.  For the flower center, which is hollow, I squirt some black diamond Stickles in the hole.

Hope you have a great Memorial Day weekend!

Thursday, May 25, 2017

GOLDEN ANNIVERSARY

Rick and I are celebrating our 50th Anniversary this weekend!

We had planned to go to the Metropolitan Art Museum in NYC today; but the traffic was so heavy with heavy rain, we turned around after an hour of 35mph and only half way there.  We would have gotten there too late to see anything before having to leave.   It was so disappointing; but we will try again another day.

Tomorrow the plan is to go to Longwood Gardens, and I hope we'll be going early enough to avoid the Philadelphia rush hour traffic. At least it won't be raining (so they say...)

Meanwhile, having found an unplanned day for stamping, I made another Paper Pumpkin alternate card from the May kit.  Enjoy!

Monday, May 15, 2017

MAY PAPER PUMPKIN


 This month's Paper Pumpkin is going to be fun!  This first photo is one of the projects:  a "donut card" in a paper bag.  It's adorable.


The second photo shows the kit as just opened.


The third photo shows the contents.  Check back for ideas for alternative uses of all the pieces.

Wednesday, May 10, 2017

DREAMY DRAGONFLY

Thanks to the "Dragonfly Dreams" die set, this top fold card was quick and easy.  After cutting the dragonfly twice and the body once, I assembled it as shown.  The bottom wings are from a scrap of rainbow dsp and the top wings are vellum coated with clear W-O-S.  The body was cut separately from a scrap of black glitter paper and glued on top. 

I mounted the blue oval on the cardfront and popped the dragonfly on top.  I had some matching blue glimmer paper which I glued to the bottom of the inside and shortened the top of the card so the glimmer paper would show.  The sentiment was stamped, cut and attached to the bottom of the card front...just to make it a little bit different.

Monday, May 8, 2017

SUMMER ROSE

Here is my latest attempt at water coloring.  It turned out better than I expected.

First I used a light color ink, stamped off once and then stamped the image on plain white cs.  This allowed me to paint without any lines showing when I was done.  In fact, the outline was so faint I unknowingly changed the shape of the center.

Once I was satisfied with the coloring, I outlined the image with a light turquoise marker to make it pop.  I added the tiny butterfly from a SU punch and stamped the small greeting.  For a touch of glimmer, I used clear W-O-S on the butterfly wings.

Sunday, May 7, 2017

BUTTERFLY BIRTHDAY GATE FOLD

This 6x6 pad of SU dsp was somehow hidden in my stash, and I rediscovered it the other day.  Using all three patterns from that one pad, I easily assembled this card.

Uh-oh, I'm starting to like "the dreaded pink!"

Thursday, May 4, 2017

CASE of a Silver Stamper Card

This Happy Mail is for a Silver Stamper friend who sent me a GORGEOUS Spring card that I CASEd.

Her card featured a beautiful Spring wreath stamped on a die cut with 5 large scallops.  She colored it beautifully, which was quite an inspiration.  So I got out my peg stamps and went for it!

The design works very nicely.  Her wreath featured a bird's nest with four blue eggs.  Mine has a bumble bee in the same spot, which is part of the SU! dragonfly die set. 

The envelope features the same flower as the ones on the wreath, stamped over the lines from an envelope stamp set at Simon Says Stamp.  The name of the set is "Sending Flowers."  Very appropriate name, don't you think?

Wednesday, May 3, 2017

FANCY FOLD CARD

I found this pre-folded green card base in my stash the other day, and I had no idea what it was planned for; so I used it for this card.

Starting with a scalloped circle die, I cut the dsp, added the dragonfly and the sentiment, and punch out 2 flowers from the back of the same dsp scraps.

The flower on the right acts as a lock to hold the card closed.  I wrote a note on a piece of white paper for the inside.  For a final touch, I added Wink-of-Stella (clear) on the dragonfly wings.