I turned this one into a butterfly birthday card, and I love how it turned out (if I may say so myself.)
After water coloring the heart, I ran it through the Big Shot with the butterfly die and mounted it over the striped paper supplied in the kit. After attaching the butterfly with foam tape, I slipped two snips of black cs underneath for the antennae.
The greeting, which fit the tag better, is from another SU! kit. The b'fly body is just two of the "sprinkles" from the May Paper Pumpkin kit. For the flower center, which is hollow, I squirt some black diamond Stickles in the hole.
Hope you have a great Memorial Day weekend!
A site to post my latest hand-stamped greeting cards. BE SURE TO CLICK ON PHOTOS TO ENLARGE!
Showing posts with label Paper Pumpkin. Show all posts
Friday, May 26, 2017
Thursday, May 25, 2017
GOLDEN ANNIVERSARY
Rick and I are celebrating our 50th Anniversary this weekend!
We had planned to go to the Metropolitan Art Museum in NYC today; but the traffic was so heavy with heavy rain, we turned around after an hour of 35mph and only half way there. We would have gotten there too late to see anything before having to leave. It was so disappointing; but we will try again another day.
Tomorrow the plan is to go to Longwood Gardens, and I hope we'll be going early enough to avoid the Philadelphia rush hour traffic. At least it won't be raining (so they say...)
Meanwhile, having found an unplanned day for stamping, I made another Paper Pumpkin alternate card from the May kit. Enjoy!
We had planned to go to the Metropolitan Art Museum in NYC today; but the traffic was so heavy with heavy rain, we turned around after an hour of 35mph and only half way there. We would have gotten there too late to see anything before having to leave. It was so disappointing; but we will try again another day.
Tomorrow the plan is to go to Longwood Gardens, and I hope we'll be going early enough to avoid the Philadelphia rush hour traffic. At least it won't be raining (so they say...)
Meanwhile, having found an unplanned day for stamping, I made another Paper Pumpkin alternate card from the May kit. Enjoy!
Monday, May 15, 2017
MAY PAPER PUMPKIN
This month's Paper Pumpkin is going to be fun! This first photo is one of the projects: a "donut card" in a paper bag. It's adorable.
The second photo shows the kit as just opened.
The third photo shows the contents. Check back for ideas for alternative uses of all the pieces.
Friday, April 14, 2017
IT'S HERE, IT'S HERE!
MY PAPER PUMPKIN ARRIVED TODAY!
--filled with lots of goodies for making this first card and others. The surprise gift from Sara was really nice, too! It was used here, but I won't spoil the surprise.
The black cardstock and envelopes give the cards a modern look. The stamp set included has mix and match words to use for a nice saying like this one. The envies have a white area for the name and address, and the inside is lined, too.
--filled with lots of goodies for making this first card and others. The surprise gift from Sara was really nice, too! It was used here, but I won't spoil the surprise.
The black cardstock and envelopes give the cards a modern look. The stamp set included has mix and match words to use for a nice saying like this one. The envies have a white area for the name and address, and the inside is lined, too.
Saturday, March 25, 2017
MARCH PAPER PUMPKIN
After reading about this month's Paper Pumpkin on YouTube, I was not expecting much. There were numerous complaints about the colors and patterns of the paper. However, once I came up with some of my own ideas for using this kit, it turned out to be delightful. Here's what I did:
First, I followed the instructions for the bunny bags, except that I also stamped the whiskers on the back to highlight the bunny tail. The bags (empty for now) are adorable! I decided to use them as place cards at the dinner table.
That gave me an idea for the adults at the table. Instead of making a tiny card, I cut off the dsp side of the card to die cut as flowers at a later date. After wrapping the bakers twine around the square, I attached the square to the envelope front with Fast Fuse. I added the bunny tail on the back of the envelope which will be used to hold a Ghiradelli chocolate square. As you can see here, I plan to write each adult name on the front and place them on the appropriate dinner plate.
I'm looking forward to using these for a festive Easter dinner table!
First, I followed the instructions for the bunny bags, except that I also stamped the whiskers on the back to highlight the bunny tail. The bags (empty for now) are adorable! I decided to use them as place cards at the dinner table.
That gave me an idea for the adults at the table. Instead of making a tiny card, I cut off the dsp side of the card to die cut as flowers at a later date. After wrapping the bakers twine around the square, I attached the square to the envelope front with Fast Fuse. I added the bunny tail on the back of the envelope which will be used to hold a Ghiradelli chocolate square. As you can see here, I plan to write each adult name on the front and place them on the appropriate dinner plate.
I'm looking forward to using these for a festive Easter dinner table!
Sunday, July 3, 2016
GOODBYE JUNE, HELLO JULY BIRTHDAY
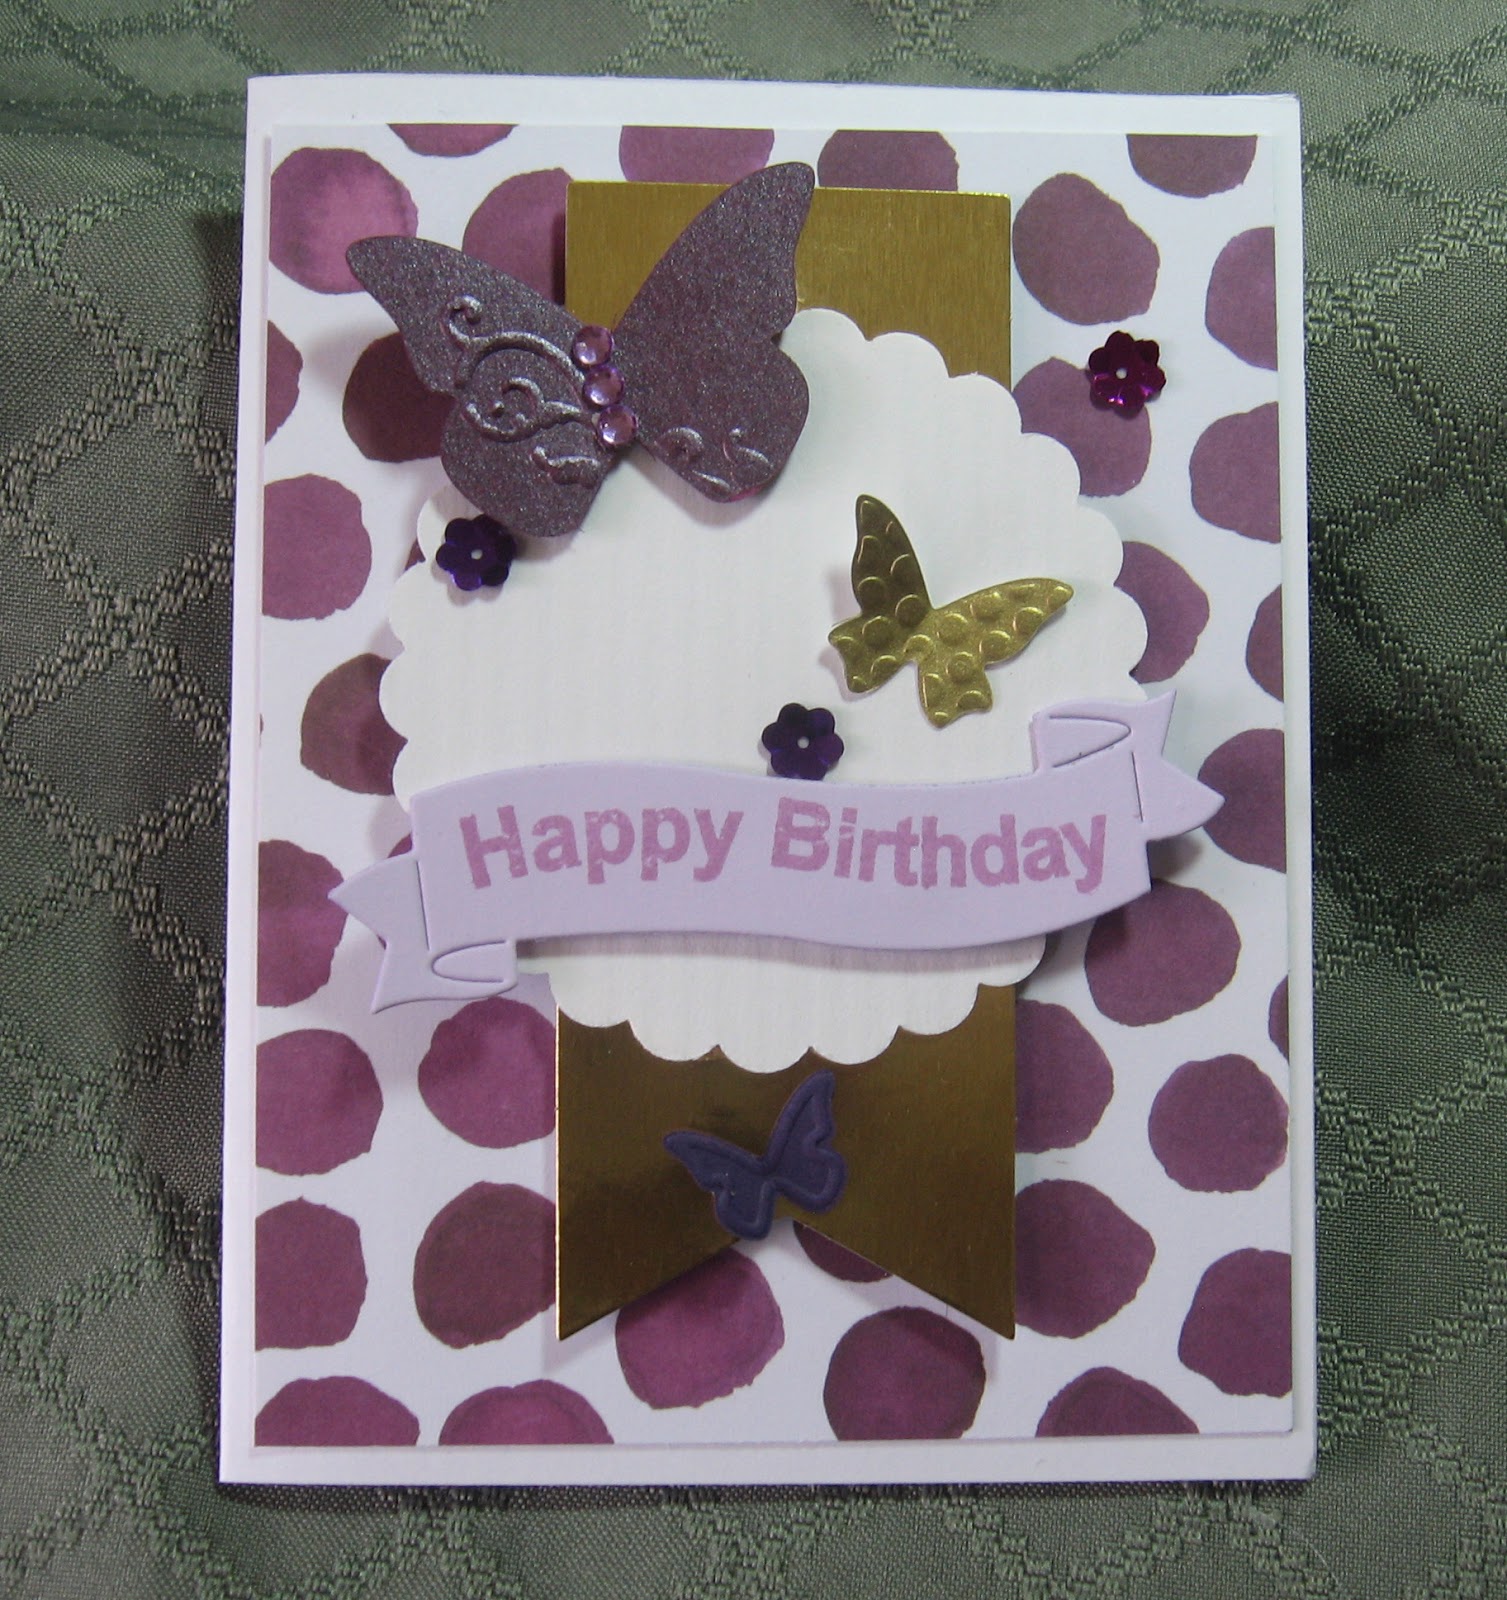
This card was originally the June page from the Paper Pumpkin perpetual calendar. As I've done at the end of each month, I carefully peeled the month off and cut down the dsp to fit a card front.
After attaching the dsp, along with the gold foil banner, I added the scalloped circle, butterflies and birthday banner. A few matching sequins and some gems for the large butterfly, and the card was done.
I'm so glad these calendar pages can be redone to serve another purpose.
After attaching the dsp, along with the gold foil banner, I added the scalloped circle, butterflies and birthday banner. A few matching sequins and some gems for the large butterfly, and the card was done.
I'm so glad these calendar pages can be redone to serve another purpose.
Monday, June 20, 2016
GOODBYE MAY!
This started out as the calendar for May that I turned into a card.
After removing the calendar, I stamped "Birthday" on a scrap of white cs, glued it over the word "May" and re-mounted the wreath over the spot where the calendar was. I sponged some sky and added a die cut "happy" above the wreath. Then I mounted the panel on the front of a white card base.
I love that this perpetual calendar from the December Paper Pumpkin has done double duty as each month ends!
After removing the calendar, I stamped "Birthday" on a scrap of white cs, glued it over the word "May" and re-mounted the wreath over the spot where the calendar was. I sponged some sky and added a die cut "happy" above the wreath. Then I mounted the panel on the front of a white card base.
I love that this perpetual calendar from the December Paper Pumpkin has done double duty as each month ends!
Friday, May 6, 2016
PAPER PUMPKIN ALTERNATE FOR APRIL 2016
After completing the wreath project that arrived in the April kit, I used one of the leftover labels for this card.
The card front is from the calendar kit in the December Paper Pumpkin, so I guess that makes it a double alternate. After removing the calendar and salvaging what could be reused, I put them together as shown.
The wreath from this month's Paper Pumpkin is now hanging on the door to my Tower and is a perfect color match, too!
The card front is from the calendar kit in the December Paper Pumpkin, so I guess that makes it a double alternate. After removing the calendar and salvaging what could be reused, I put them together as shown.
The wreath from this month's Paper Pumpkin is now hanging on the door to my Tower and is a perfect color match, too!
Wednesday, April 27, 2016
CALENDAR REDO--MARCH
This card was inspired by the dsp and gold medallion from the 2016 Paper Pumpkin calendar set. Combined with the Botanical Blooms dies, this card was created.
For additional contrast, I used an envelope liner that was in a card I received recently. After removing it carefully from the inside of the envelope, I cut it down to use on two different cards. For this one, there was only a narrow strip left, so I used an edge punch, then cut it down for the strip on each side.
Not all of my scraps come from the Scrap Drawer!
For additional contrast, I used an envelope liner that was in a card I received recently. After removing it carefully from the inside of the envelope, I cut it down to use on two different cards. For this one, there was only a narrow strip left, so I used an edge punch, then cut it down for the strip on each side.
Not all of my scraps come from the Scrap Drawer!
Saturday, April 9, 2016
MARCH 2016 PAPER PUMPKIN ALTERNATE
This card was so easy to make. I didn't time it, but I'm sure it was under 10 minutes because everything is pre-cut and/or folded in the SU! Paper Pumpkin kits.
First I folded the envelope together for mailing. Next, I used the card base provided for the card. Instead of using it for a gift card, I stamped the flowers across the middle using the stamp set and ink spot included.
Next, I stamped the sentiment on the floral square, stapled the two fish tales to the corner and mounted it over the floral square. After adding the sequins and bakers twine bow, it was ready to mail. In fact, it already went out as a birthday card!
Thursday, February 18, 2016
PAPER PUMPKIN FEBRUARY 2016--Alternate Idea
After cutting down one of the card fronts, I mounted it on a piece of light blue cardstock. I stamped Hello and "birthday girl" and added some of the flowers from the stamp set included in the paper pumpkin.
Using a white card base, I glued the floral dsp from Botanical Blooms to it and mounted the stamped piece to the front of the card. Then I stamped the party hat on a scrap of white cs, fussy cut it and mounted it over the "o" with a dimensional..
Finally, I used some Wink of Stella on the party hat and added some of the sequins from the kit.to give it some shine.
Using a white card base, I glued the floral dsp from Botanical Blooms to it and mounted the stamped piece to the front of the card. Then I stamped the party hat on a scrap of white cs, fussy cut it and mounted it over the "o" with a dimensional..
Finally, I used some Wink of Stella on the party hat and added some of the sequins from the kit.to give it some shine.
Sunday, January 31, 2016
PAPER PUMPKIN ALTERNATES
Labels:
Paper Pumpkin,
Postage Friendly,
Stampin' Up,
Valentines
Subscribe to:
Posts (Atom)