Showing posts with label Hero Arts. Show all posts

Friday, January 4, 2019

FRUGAL CRAFTER RANT


I finally figured out why I've been in such a funk lately:  I turned from a card maker to a stamping shopper/collector!  I spent more time last year on line than in making cards and maintaining my blog.  Lindsay, the Frugal Crafter on YouTube, set me (and others) straight with her accurate analysis.  Some (or many) of us have been  keeping up on the latest stamps and supplies instead of using what we already have.  Thank you Lindsay for helping us get un-addicted to the habit of thinking we need so much stuff.

Think about it...haven't we all complained about not having enough time to get things done?  If we just practiced being content with what we already have, we wouldn't be buying more and wondering where to store it.  The time we've spent surfing YouTube and Pinterest, as well as all the on-line suppliers, could have been spent using our imaginations for cards that would actually get mailed to people who need a kind word or a chuckle.

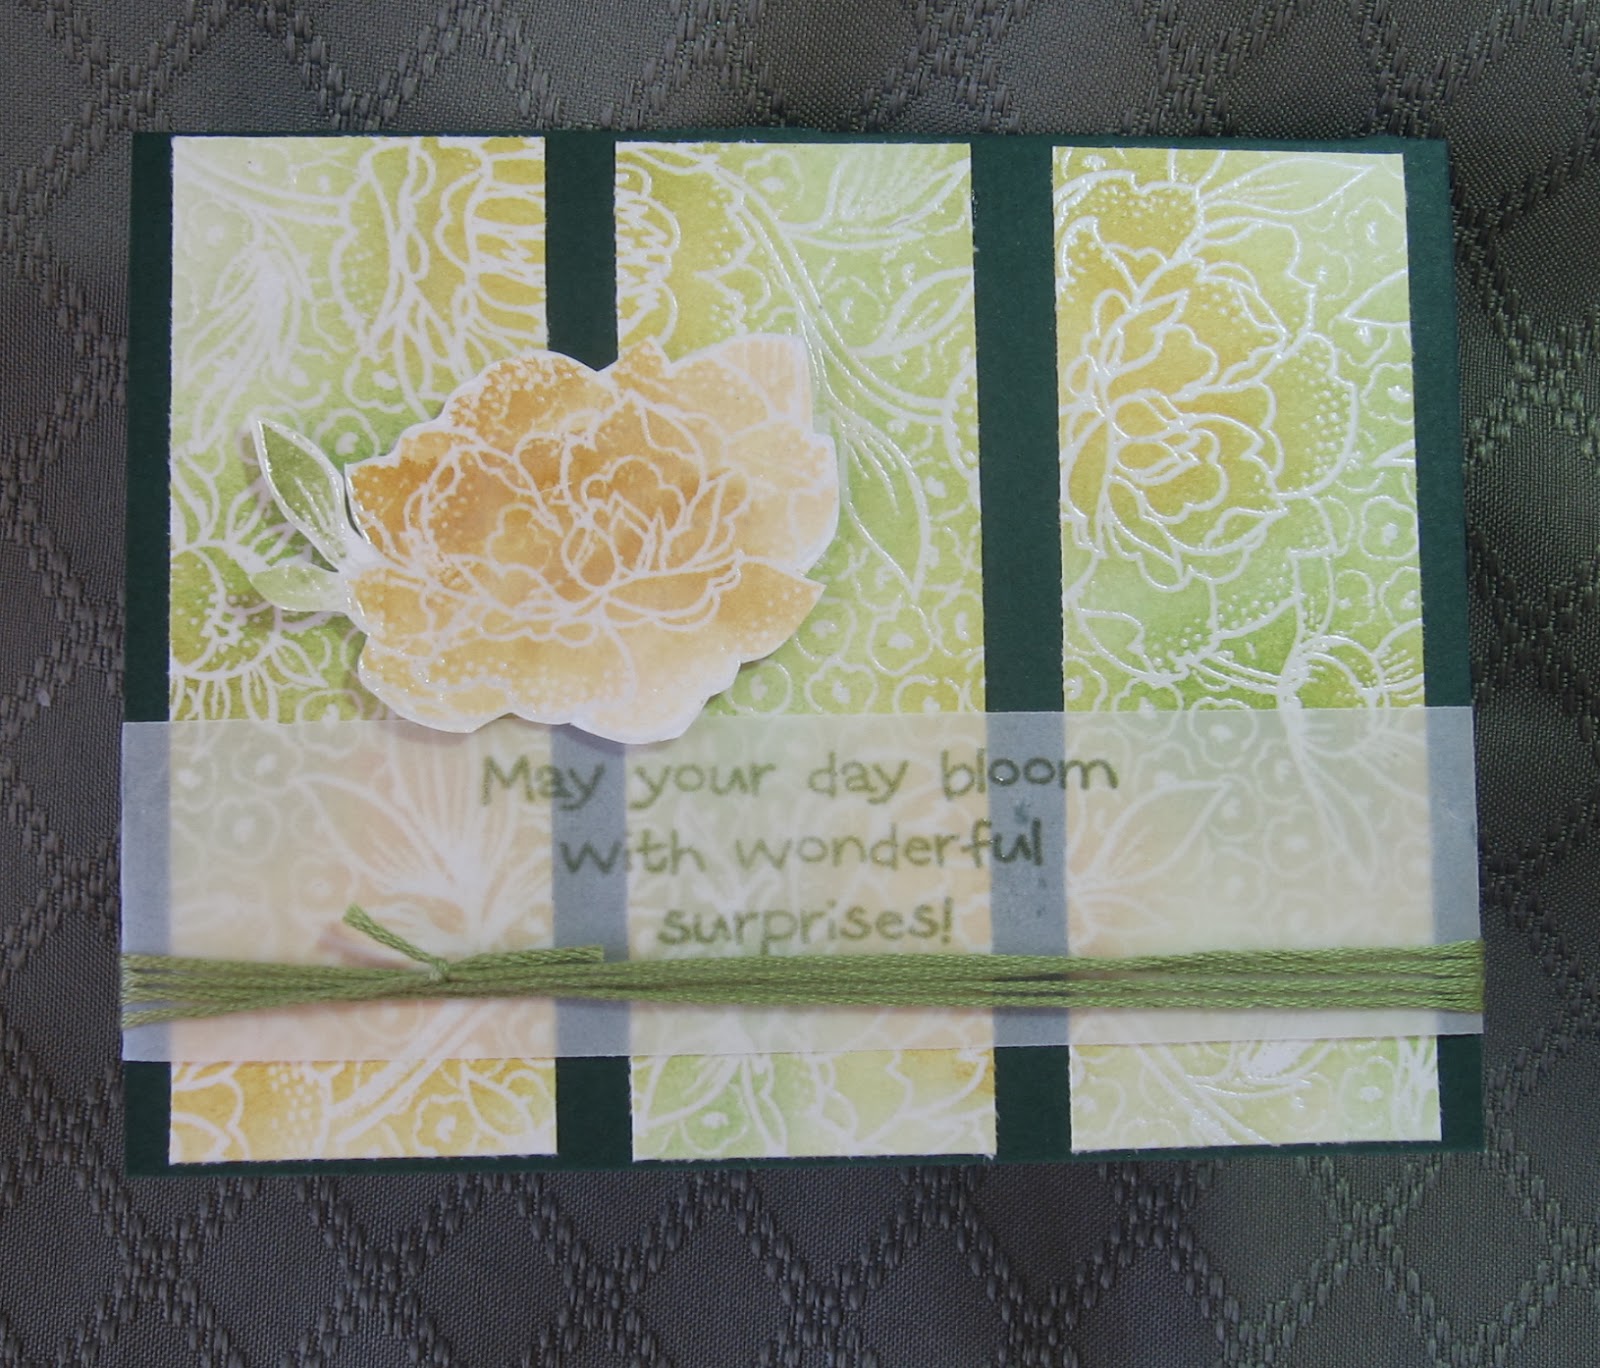
This card was made with just one set that has been sitting here for months since it arrived in the mail.  It is a Hero Arts set of stamps and dies which also includes 15 greetings!  I guarantee you'll be seeing more of this set in the very near future...


Friday, November 9, 2018

PAPER PLAYERS #417--Give Thanks


It's my favorite squirrel again!  Just in time for this week's Paper Players challenge.


For a peek at other entries, click HERE

Monday, August 13, 2018

TWO OUT OF THREE


Jennifer McGuire inspired me to try "having fun" with water coloring, so I used the three roses from the SSS "Beautiful Flowers" stamp set.  I clear embossed them, coated them with water, and added Fossilized Amber and Spiced Marmalade, then fussy cut them and mounted them over some green leaves.

It was sort of fun, but I still don't have it down when it comes to using water colors.  To "pep" this card up a bit, I added the dsp strip on the side, the copper thread and the tiny tag.  After I took the picture, I also added a few sequins.


For card #2 I used the third rose, the leftover leaves and a few gold sequins.  Both cards will make good summer notes since I already have quite a few birthday cards made.  I'll be moving on to Christmas cards soon!


Saturday, June 23, 2018

THREE OF A KIND--Cactus


This trio started when I came across a 6x6" dsp pad I forgot I had.  I had just received my order of a Hero Arts bundle called "Color Layering Armadillo," and these background papers were just right for the stamp set.

The first card features some copper threads and a copper foil tag, (although it looks red here.)  The hardest part of all three cards was getting the flowers on top of the cacti due to their small sizes.


This second one was the easiest of the three due to the dsp providing the background.  All I had to do was use the dies in the bundle and attach to the light green oval.

The black and white greeting stands out nicely.


Finally, this third card was fun to assemble.  The terra cotta pot turned the cactus into a house plant.  The twine gave it some texture, and the hand-written greeting gave me a card I need for a sick friend.  (I added two sequins on the label after the picture was taken.)

I was a bit unsure of how to use this set when it first arrived, but it worked out well once I incorporated the cactus dsp and the planter.  Now I just have to find a use for the armadillo in the set...


Tuesday, June 5, 2018

FLY ME AWAY KIT--Embossing Folder


Included in the SSS kit for June is a Sizzix 3-D floral embossing folder.

After using the embossing folder on the 3 1/2" x 5 1/2" card front, I die cut these aruncus flowers and added them to the card.  Next, I white heat embossed  the greeting onto a strip of black cs and mounted it with dimensionals.  For embellishment, I added three flat sequins.

Although there are no flying images here, you could use your imagination to fly into thoughts of someone special.


Friday, April 6, 2018

ANOTHER STAMP AND DIE SET


This squirrel is from another Hero Arts set, 
(CM201 Color Layering Squirrel)
 with 3-step stamping and matching dies.
The sentiment is from the Hero Arts kit
featured in my previous post.

It was a long winter with tons of snow,
bleak afternoons brightened with stamping
and lots squirrel watching.

I made this for my grandson's birthday this weekend.
I can't believe he's 20 already!


Thursday, April 5, 2018

WINTER DOLDRUMS TO BLAME FOR PURCHASES


With so much snow and so little sun,
I just HAD to order some new stamps and dies.

This sentiment makes for a great encouragement card.
It's part of a stamp and die set from Hero Arts
which has 11 birds, 15 sentiments and
6 tiny stamps, including one with music notes.
These are part of a kit which also includes 3 ink spots,
two twig nests, 22 dies, and several sheets of cardstock,
2 with woodgrain embossing (I used the brown one here.)
I don't remember what the kit sold for, but it
was very reasonable.

For more ideas on how this set can be used,
check it out on Pinterest or YouTube.


Monday, October 2, 2017

IT'S ACORN TIME!

Here's a happy squirrel harvesting his acornHe is from a color layering set by Hero Arts.  The bundle includes the stamps, 4 dies and 4 ink cubes.  I just love squirrels and how our Creator gave them a tail that serves as a blanket in the winter!

Now that I'm halfway through my 100 Christmas cards for this year, I'm taking a break in order to make some Fall birthday and Thanksgiving cards.  The StampinUp dsp used here is part of a beautiful collection for those Autumn occasions.


Sunday, August 20, 2017

FLOWER PUNCH

 Even though I enjoy using my dies, punches can be so handy.  This was done with 3 layers of sponged flowers with a smaller size in vellum on top.  The silver strip on the side is actually a border of washi tape.

After stamping the greeting, I splattered the front with purple ink and added the three green accents.

This was a quick card to make!


Monday, February 20, 2017

JUST US GIRLS #381--Color Week

Kraft, red and black--what a great color combo!  The challenge can be found HERE.

To start, I loosely traced a few circles in black to create a wreath.  Next, I added some funky twigs with one of my peg stamps.

After adding some tiny white flowers (with another peg stamp) I stamped the three large  flowers in red.  Since I wanted them to be bold, I colored them in with Hot Cinnamon H2O's, leaving the white centers.  Next, I fussy cut them and attached them to the wreath with glue dots.

The sentiment was stamped in white onto a black scrap and embossed in white to make it stand out.  For final touches, I added some black spatter, a white ribbon and a rounded corner.

Monday, February 13, 2017

THREE OF A KIND--Cats


Are these the cutest faces?  They are from an old Hero Arts set of 4 wood stamps.

The card on the left is also being entered in the CAS challenge for use of corrugated cardboard.

(Click on photo to enlarge.)

Friday, May 20, 2016

THREE OF A KIND--Christmas

Just got a new die for Christmas, and I LOVE it!

These cards were easier to make than they look.  First I made the top one with peg stamps using Versamark and gold ep on the card base in the shape of the tree..  Then I die  cut the dsp and white cs using the tree die.  I used the "frame" for the top card, and the tree for the card on the right.  After gluing down the frame, I attached the white tree with a glue dot at the top and bottom.

Next, I cut a piece of gold metallic cs to 4 x 5 1/4" and die cut the stitched rectangle from the middle.  I added the gold cs over a wood-grain embossed card front with dimensionals.  Then I added the dsp tree and the smaller white tree center as shown.  The woodgrain embossing adds a lot of texture.

For the card on the left, I attached the gold metallic gold frame to the front with narrow strips of foam mounting tape to keep it from "caving" and glued the dsp in the middle.  Then I carefully glued the white panel onto the gold frame and attached the white tree with glue dots at the top and bottom.

FOR A HERO ARTS VIDEO on how this was done, click HERE!


Sunday, May 24, 2015

MONOCHROMATIC CARD

After inking the flower with Versafine Imperial Purple and applying green marker for the stem, I stamped it three times without reinking.  Then I layered the panels as shown.

Very easy!

Sunday, April 26, 2015

AUTHENTIC DOGWOOD STAMP

This stamp by Hero Arts is the only one I've seen (so far, anyway) that has Dogwood blooms with four petals instead of five.  There is a "Legend of the Dogwood" which is appropriate for Easter, but it requires an authentic 4-petal Dogwood blossom.

The leaves on this stamp are very dark, but I wanted the blossoms to be much lighter.  So I first stamped the image in Versafine Olympia Green and stamped a second image in Smokey Gray stamped off once.  I then colored both as shown with colored pencils.

Next, I cut the white cs close to the image on the sides, sponged the edges with Smokey Gray and glued it to the green dsp which I had already glued to the card front.  Then I added the lighter blossoms over the image with dimensionals.

The greeting, from the SU "Painted Petals" set, was stamped in the Olympia Green and mounted on the card with dimensionals.  The final touch of Diamond Stickles was applied to the centers of the blossoms.

This card is going to a Silver Stamper who is 88 and makes the most amazing cards!

Saturday, May 10, 2014

WATERCOLOR ONLINE CLASS

It's not too late to sign up for the Online Watercolor Classes.  I'm learning tons of new watercolor techniques from the videos in this series.  They are so well done, and I'm inspired to go beyond the basics I already knew!

This card is my first attempt since watching the videos.  I used my peg stamps, some markers and my water brush to create this basket of flowers.

Enjoy!

Wednesday, March 5, 2014

Inside and Out--Flowers and Butterfly

Connecting the inside of a card with the front really makes it seem more finished.  This card features some sponging of three colors on a separate panel which is then attached to a wider piece of white cs trimmed with a lacy edger punch.  After adding a thin strip of black cs on the top and bottom of the panel, I stamped the birthday greeting and attached the panel to the card front with dimensionals.

The flowers from the Morning Meadow SU hostess set are stamped, punched and mounted as shown.  For the inside, I stamped a small Hero Arts butterfly on a white cs scrap, sponged it with the same yellow inks, and fussy cut it.  I then mounted it to the inside with a glue dot on the left wing.  Lastly, pearls were added to the flower centers.

I'm enjoying this online class and looking forward to the next lesson.  Meanwhile, I'll be teaching what I learned to the Mothers Class today!

Friday, February 28, 2014

Inside and Out--Online Classes

Did you know that you could sign up for any of the previous Hero Arts online classes?  I just started the one for Inside a card, and it's cheaper (and better) than buying a magazine!  Plus, you get videos by instructors like Jennifer McGuire, Kristina Werner and Julie Ebersole that make each technique super clear.


The first lesson was on different ways to make pop-ups on the inside, which inspired this card.  The video shows 3 ways to use a small cube on which to mount an image.  Since the card base was too dark for writing a message inside, I chose to use a white insert instead; but the idea is still the same.  As you can see, the inside is a continuation of the theme on the front.  These online classes are so helpful!

NOTE:  The online class title is "Insider."


Saturday, July 27, 2013

SUMMER CARD CAMP WEEK 3/DAY 4

 Our challenge for this class was to try a different technique or look.  Since I usually don't do a lot of layering or edging, I decided to try the vintage look by distressing the panel and sponging the edges.  I meant to crinkle the paper before sponging, but forgot--that's how new this style is for me!  The same color combo of 2 shades of brown, aqua, and 2 shades of purple have become easier to use.

Following one of the sketches for this week helped me break out of my usual pattern.  There are also a lot more layers on this card, thanks to my scrap drawer.  I even dug out my button maker for this one, too.

I like how this turned out and will probably try to incorporate more of these techniques and styles in future cards!  (Once in awhile...)

Tuesday, June 18, 2013

HERO ARTS CHALLENGE

When I saw this challenge on the Hero Arts blog, I ran for my favorite Hero Arts set, Antique Engravings.  This is probably my most often go-to stamp when I need a quick card.

The sentiment is from another Hero Arts set, Essential Messages.  Together, they balance each other nicely.

The Sizzix ef added some texture to this card.  I divided it just to add some interest without detracting from the image and sentiment.  The purple gems match the purple edges of the butterfly, which was colored with SU markers.  For some sparkle, I mounted the butterfly on a round scalloped piece of glitter paper and added yellow Stickles to the two large circles on the wings.

Details of the challenge can be found HERE.


Wednesday, April 24, 2013

Mothers Class Butterfly!

We'll be doing a variation of this card today in Mothers Class.  I found a pack of cards and envies that I bought half price ages ago.  The cards are slightly smaller and fold on the left side, so I eliminated the black embroidery floss and rounded just the upper right corner.

To start, I used some scraps from the scrap drawer for the background dsp.  Next, I stamped the leaves with a light green ink on white and used the matching die to cut it out.  After mounting it on the card front with ds tape, I stamped the Hero Arts butterfly on white cs and colored it with colored pencils.  The two large dots on the top were filled in with yellow Stickles after I attached it to the card with a slim piece of mounting foam tape.

To finish, I added the greeting and black embroidery floss then rounded the corners.  Voila!