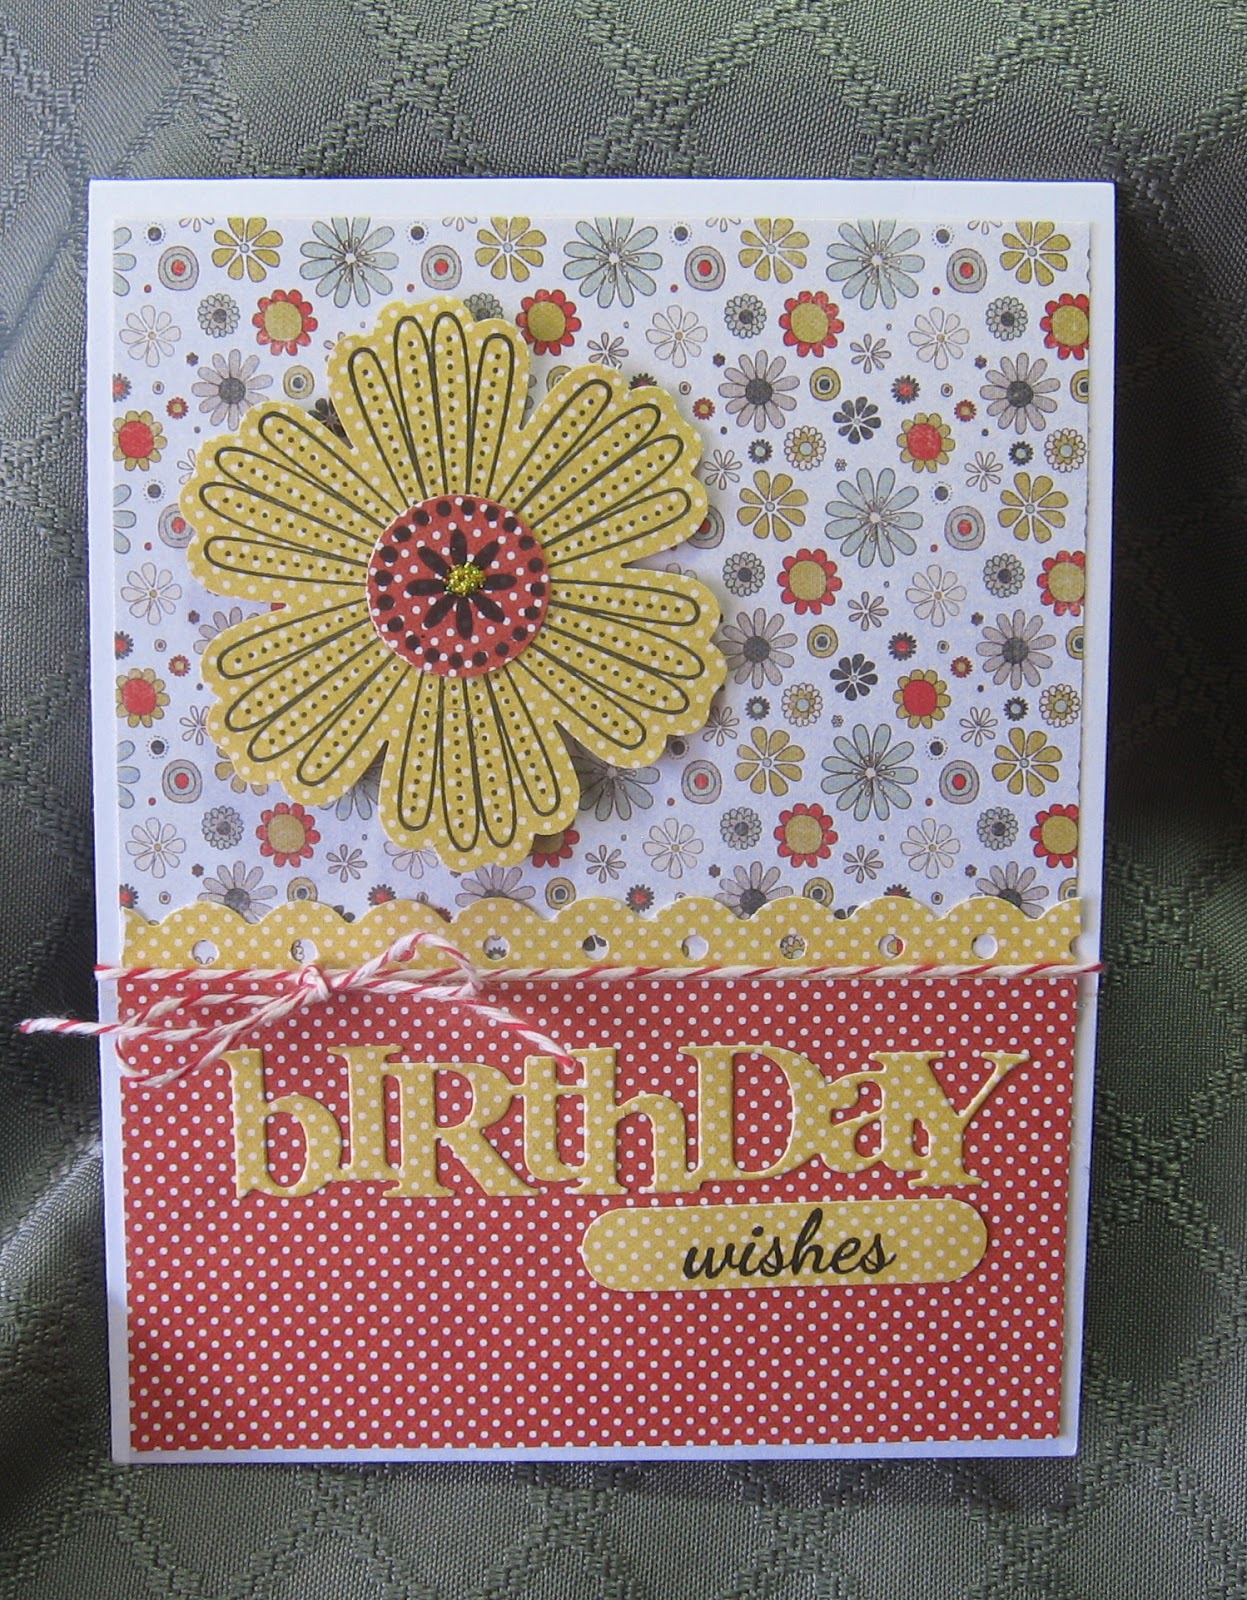
This is the first card made using the Paper Trey Ink Birthday die and coordinating stamp set.
Starting with a 6x6 pad of designer sheets from My Mind's Eye, I chose the floral to use with a SU Mixed Bunch stamp and punch. The red and yellow polka dot papers worked beautifully with this pattern, and the red and white twine finished the card off nicely.
The inside says, "May all your stamp dreams come true." That's a good wish for any stamper!
A site to post my latest hand-stamped greeting cards. BE SURE TO CLICK ON PHOTOS TO ENLARGE!
Wednesday, March 27, 2013
Monday, March 25, 2013
Foxy Card
This fox stamp arrived the other day in my Paper Trey Ink order, and it lends itself very well to coloring with pencils. I used a blend of warm browns and a brownish red to get a realistic look, just like the foxes we see around here from time to time.
I chose the subtle dsp from a pad of My Mind's Eye patterns to complement the reds in the fox and the embroidery floss. The loops in the bow also reflect the dsp design.
There's just enough room inside to write a brief note at the top and bottom.
I chose the subtle dsp from a pad of My Mind's Eye patterns to complement the reds in the fox and the embroidery floss. The loops in the bow also reflect the dsp design.
There's just enough room inside to write a brief note at the top and bottom.
Saturday, March 23, 2013
Violets Card
This is one of the cards we made at Mothers Class on Wednesday. Using an Our Daily Bread Designs stamp, we stamped it twice on white cs, colored it in with markers, cut out just the blossoms on the second image, and mounted them with dimensionals. The flower pot was cut free hand out of a SU dsp from my stash.
The card base is Cream Felt from the Paper Cut and has a slight texture to it similar to watercolor paper. The purple dsp is from a sheet of SU 12 x 12 paper.
After attaching the vase to the card with dimensionals, we mounted the flowers over it. Then the greeting was stamped and the twine added on top. For a final embellishment, we added yellow Stickles to the flower centers. Easy and elegant top fold card!
The card base is Cream Felt from the Paper Cut and has a slight texture to it similar to watercolor paper. The purple dsp is from a sheet of SU 12 x 12 paper.
After attaching the vase to the card with dimensionals, we mounted the flowers over it. Then the greeting was stamped and the twine added on top. For a final embellishment, we added yellow Stickles to the flower centers. Easy and elegant top fold card!
Thursday, February 28, 2013
SPECIAL MOTHERS CLASS

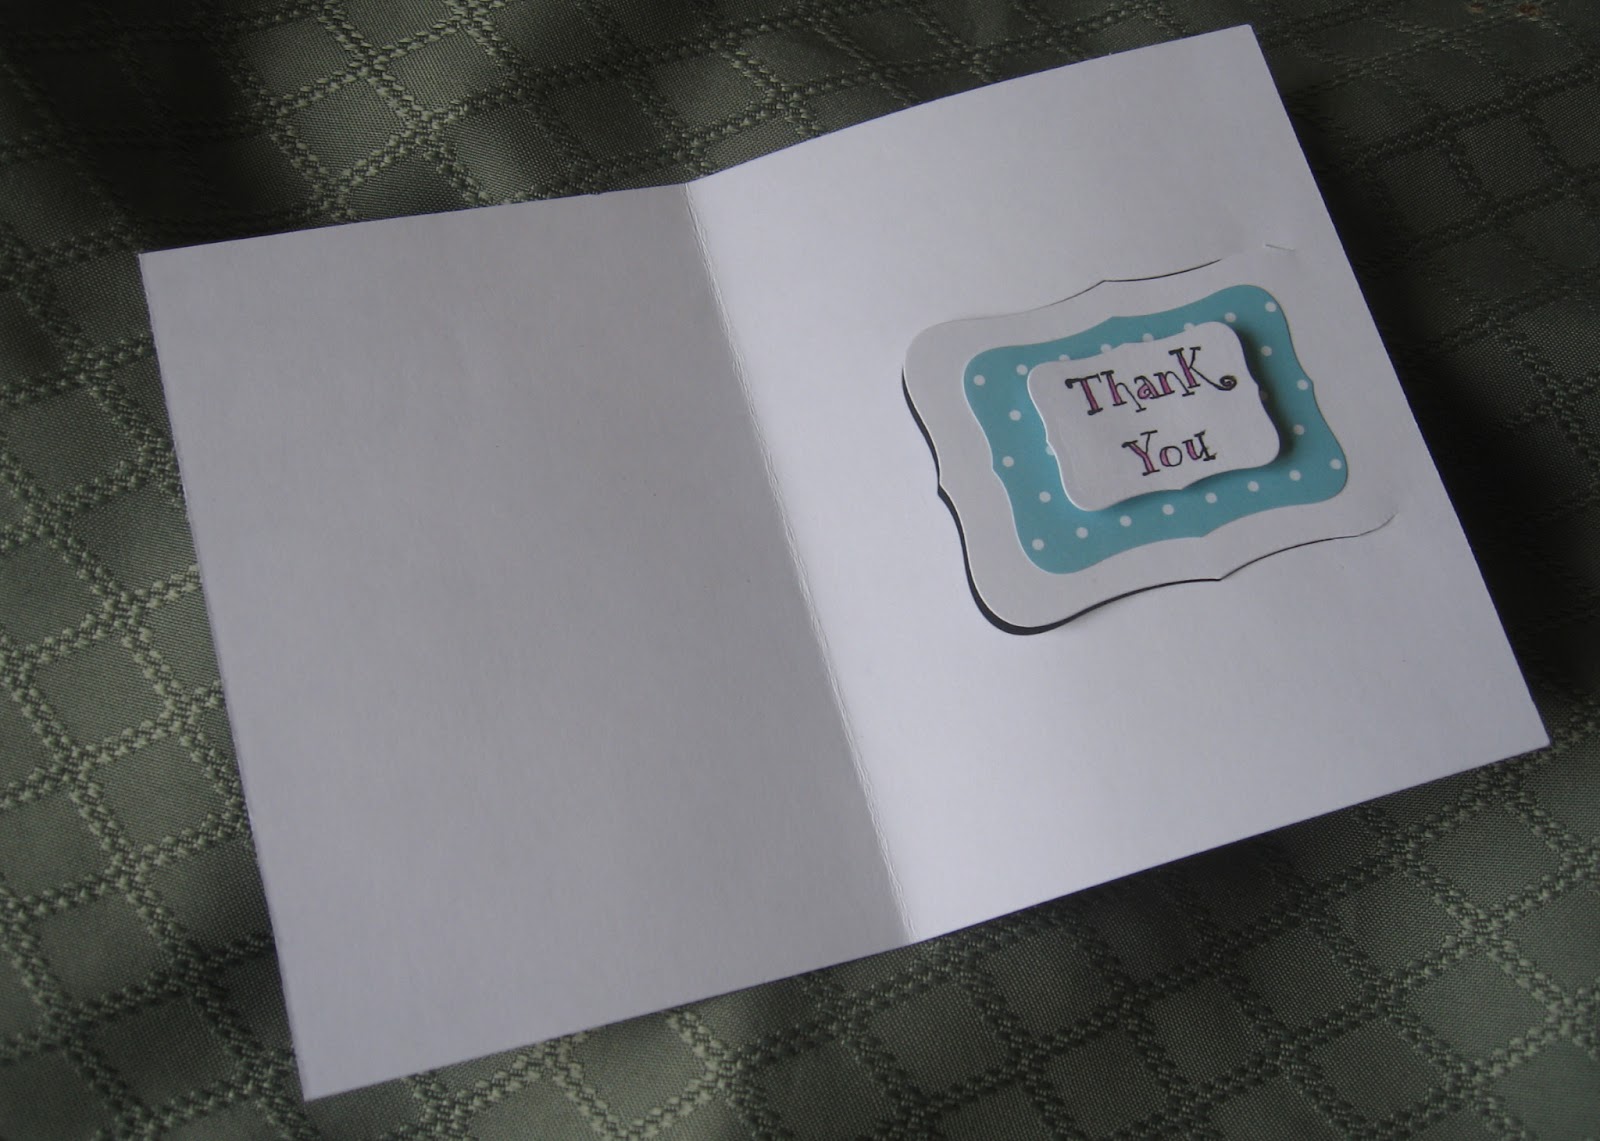
Instead of meeting at the church this week, we held a special morning/lunch session at Jackie's house. From left to right are: Jackie (our hostess), Nicole, Kim, Bambi and me. (absent from the photo are Joan and Evelyn.) We are each holding a stamp set that we chose from the package shown on the table. One of my friends who moved down South sent me that box filled with stamps she was giving away. What a joy to have received such a gift! As you can tell by the smiles, the joy was felt by all.
From joy to concentration, the next photo shows Jackie, Kim and Bambi making their thank-you notes. Jackie's husband made pork barbecue for lunch--YUM! After lunch we made a few more cards, and I taught a new technique using a label Nestabilities die (see previous post.)
We had lots of laughter along with the creativity of trying out new stamps. Thanks again, Bev!
LABEL DIE CLOSURE
When I saw this technique, I knew I had to take it to Mothers Class for all of us to try. (I think it was on Pinterest.)
To start, I took the label die and ran it through the Cuttlebug with the C plate on top, but moved down a bit so that it wouldn't just cut out the label. Instead, it enabled me to use it as a "hinge" on the card front. Next, I cut off enough of the right side of the front so that it would fit neatly under the tab.
After that, it was just a matter of decorating and embellishing to complete the card. It's amazing how different each card was when we were done!
I plan to add more to the right side and the inside later. I hope you give this one a try--it was fun!
To start, I took the label die and ran it through the Cuttlebug with the C plate on top, but moved down a bit so that it wouldn't just cut out the label. Instead, it enabled me to use it as a "hinge" on the card front. Next, I cut off enough of the right side of the front so that it would fit neatly under the tab.
After that, it was just a matter of decorating and embellishing to complete the card. It's amazing how different each card was when we were done!
I plan to add more to the right side and the inside later. I hope you give this one a try--it was fun!
SUNFLOWER THANK-YOU
Nothing personalizes a card like your own handwriting. This is from a retired SU set, Summer Sunflower.
After inking the flower in yellow, I added orange ink along the edges, stamped it on white cs and cut it out. Since this is a two-step stamping set, I used brown ink for the center and added Cinnamon Stickles over it. While it dried, I stamped the stem and leaves, cut out the image and mounted it on the plain dsp. Using an old pair of corner scissors, I trimmed the corners on the dsp and card base and mounted the plaid with ds tape.
After attaching the sunflower with foam tape, I hand-wrote "thanks" on the front and added my thank-you note inside.
I didn't have access to Split Coast Stampers at the time I made this, but checked it out later and found tons of ideas for this set!
TIP: Whenever you need ideas on how to use a stamp or set, Split Coast Stampers is a wonderful resource. Check it out HERE!
After inking the flower in yellow, I added orange ink along the edges, stamped it on white cs and cut it out. Since this is a two-step stamping set, I used brown ink for the center and added Cinnamon Stickles over it. While it dried, I stamped the stem and leaves, cut out the image and mounted it on the plain dsp. Using an old pair of corner scissors, I trimmed the corners on the dsp and card base and mounted the plaid with ds tape.
After attaching the sunflower with foam tape, I hand-wrote "thanks" on the front and added my thank-you note inside.
I didn't have access to Split Coast Stampers at the time I made this, but checked it out later and found tons of ideas for this set!
TIP: Whenever you need ideas on how to use a stamp or set, Split Coast Stampers is a wonderful resource. Check it out HERE!
Tuesday, February 26, 2013
Ready for Spring
With winter almost over, it's time to start stamping Spring florals!
Using two SU sets, I first stamped and colored the fern on a piece of white cs, added the purple floral dsp on the edge and ran it through my Cuttlebug leaving out the dsp. Then I ran the card front through with a wood stripe design, but it didn't add anything to the card once the top piece was on. So I ran it through again with the diamond design--much better.
Here's a tip: If you don't like the way something looks once embossed, you CAN run it through again with something different!
QUESTION: Has anyone had a problem with creating a watercolor background with Distress inks and water on a craft sheet? Every time I've tried, it comes out warped and not very appealing color-wise. None of the videos I've seen have had a problem like this. I used this technique for the base of the flower here. I planned to use it as a panel for another card, but it was so warped I could only punch out the flower and use it underneath the vellum overlay.
Using two SU sets, I first stamped and colored the fern on a piece of white cs, added the purple floral dsp on the edge and ran it through my Cuttlebug leaving out the dsp. Then I ran the card front through with a wood stripe design, but it didn't add anything to the card once the top piece was on. So I ran it through again with the diamond design--much better.
Here's a tip: If you don't like the way something looks once embossed, you CAN run it through again with something different!
QUESTION: Has anyone had a problem with creating a watercolor background with Distress inks and water on a craft sheet? Every time I've tried, it comes out warped and not very appealing color-wise. None of the videos I've seen have had a problem like this. I used this technique for the base of the flower here. I planned to use it as a panel for another card, but it was so warped I could only punch out the flower and use it underneath the vellum overlay.
Monday, February 25, 2013
MIXED BUNCH AND PUNCH
Here's a quick card using the Mixed Bunch SU set and the coordinating punch.
Starting with plain white printer paper scraps, I punched out 4 blossoms. For the top one, I stamped first and then punched on the same paper. Next, taking one at a time, I crinkled each one up into a wad, opened it up and sponged over all the creases with red ink. Then I stacked them up using some snail in the centers to keep them together while I punched a hole in the center.
For the flower center, I stamped on a scrap piece of white cs with the same red ink. Using a scrap of yellow cs, I punched out the largest of the Boho Blossom punch pieces and assembled the flower as shown. For the center, I used a brad; but you could use anything decorative. The leaves are another piece of scrap green cs punched out with the same punch as the flower and cut apart. The stem is just a straight piece of the same green scrap.
Inside I used "May all your stamp dreams come true" to send to a Silver Stamper friend.
Did you notice how many times I used the word "scrap?"
Starting with plain white printer paper scraps, I punched out 4 blossoms. For the top one, I stamped first and then punched on the same paper. Next, taking one at a time, I crinkled each one up into a wad, opened it up and sponged over all the creases with red ink. Then I stacked them up using some snail in the centers to keep them together while I punched a hole in the center.
For the flower center, I stamped on a scrap piece of white cs with the same red ink. Using a scrap of yellow cs, I punched out the largest of the Boho Blossom punch pieces and assembled the flower as shown. For the center, I used a brad; but you could use anything decorative. The leaves are another piece of scrap green cs punched out with the same punch as the flower and cut apart. The stem is just a straight piece of the same green scrap.
Inside I used "May all your stamp dreams come true" to send to a Silver Stamper friend.
Did you notice how many times I used the word "scrap?"
Sunday, February 24, 2013
Baby Card
When my friend Joyce asked me to make a card for a baby shower she's attending, I headed straight to my scrap drawer! Since pink is my least favorite color (we call it "the dreaded pink" around here) there wasn't a whole lot of it in the Tower.
Starting with a pre-scored card from a K & Company pad, I chose one with a raspberry shade and matched colors from other scraps of dsp. (Since they're scraps from previous projects, I can't tell you where they came from:( Next, I headed to YouTube for some ideas and, thanks to Kristina Werner, I came up with this CASE of her card.
The largest piece of scrap with the branches and flowers set the stage for the design. I wrote "welcome" in my own handwriting and set it aside to dry. Next, I used my circle punch to create the scallops on top. Using a striped paper helped line everything up evenly. Once the circles were attached with snail, I laid the large piece over it with dimensionals, covering half of the circles and, again, lining it up with the stripes below. To give it a more feminine flair, I used my Martha Stewart edger punch, which also shows the light green print inside.
For the nest, I used the SU set "Take Care" and hand cut an egg from one of the leftover scraps. Then I die cut the letters from a scrap of raspberry-colored textured paper and glued them on with TomBow glue. After adding the pink gem and pearls in the upper left-hand corner, the card was done!
Starting with a pre-scored card from a K & Company pad, I chose one with a raspberry shade and matched colors from other scraps of dsp. (Since they're scraps from previous projects, I can't tell you where they came from:( Next, I headed to YouTube for some ideas and, thanks to Kristina Werner, I came up with this CASE of her card.
The largest piece of scrap with the branches and flowers set the stage for the design. I wrote "welcome" in my own handwriting and set it aside to dry. Next, I used my circle punch to create the scallops on top. Using a striped paper helped line everything up evenly. Once the circles were attached with snail, I laid the large piece over it with dimensionals, covering half of the circles and, again, lining it up with the stripes below. To give it a more feminine flair, I used my Martha Stewart edger punch, which also shows the light green print inside.
For the nest, I used the SU set "Take Care" and hand cut an egg from one of the leftover scraps. Then I die cut the letters from a scrap of raspberry-colored textured paper and glued them on with TomBow glue. After adding the pink gem and pearls in the upper left-hand corner, the card was done!
Wednesday, February 20, 2013
REVERSE EMBOSSING
Not sure if that's the term for this technique...
Using Hero Arts Poppy Background, I first inked it up with Versamark and embossed the square in white. This left the poppies blank so they could be colored.
Although I used red markers as the media for watercoloring, the poppies look pink here. After coloring them, I added some black and yellow in the centers of the two main blossoms. Last, I watercolored the stems.
To mount the image, I first ran it through the Xyron machine so that I could be sure it would lay flat. I mounted it on black cs, trimmed the edges to make it fit the card front and attached it to the card with SU dimensionals. I made it a sympathy card to have on hand, adding the pink gems for a final touch.
Using Hero Arts Poppy Background, I first inked it up with Versamark and embossed the square in white. This left the poppies blank so they could be colored.
Although I used red markers as the media for watercoloring, the poppies look pink here. After coloring them, I added some black and yellow in the centers of the two main blossoms. Last, I watercolored the stems.
To mount the image, I first ran it through the Xyron machine so that I could be sure it would lay flat. I mounted it on black cs, trimmed the edges to make it fit the card front and attached it to the card with SU dimensionals. I made it a sympathy card to have on hand, adding the pink gems for a final touch.
Monday, February 18, 2013
RETIREMENT CARD
I was recently asked to make a card for a friend's father-in-law. I came up with this idea of a detachable checklist that could be posted later on the fridge as a reminder to keep busy!
First, I printed out a check list, cut it down and taped it to navy cs. It was then attached to the card with a phillips-head screw brad. Since it would swivel, I added a sentiment to be "discovered" underneath. Silver cording was tied on the side.
For the inside, I used a Simon Says Stamp die for the "you" and a phrase from the coordinating stamp set. The wavy congratulations is from a wooden Hero Arts stamp set.
Also, for this post I used a piece of white foam board for the photo. Since it stands on its own, it works perfectly!
First, I printed out a check list, cut it down and taped it to navy cs. It was then attached to the card with a phillips-head screw brad. Since it would swivel, I added a sentiment to be "discovered" underneath. Silver cording was tied on the side.
For the inside, I used a Simon Says Stamp die for the "you" and a phrase from the coordinating stamp set. The wavy congratulations is from a wooden Hero Arts stamp set.
Also, for this post I used a piece of white foam board for the photo. Since it stands on its own, it works perfectly!
Sunday, February 17, 2013
FOUR AND TWENTY BLACKBIRDS +
A few minutes earlier, there were hundreds more blackbirds, but I couldn't get to my camera fast enough. At least here, you get the idea of what we got to see at the bird feeder, on the ground, in the birdbath (filled with sunflower seeds) and in the trees. (No sound--the window was closed.) My cats were not impressed...
Saturday, February 16, 2013
FRESH, CLEAN SNOW!
We woke up this morning to a blanket of new snow, just enough to look pretty without interfering with our ability to get up and down our driveway!
Wednesday, February 13, 2013
Feminine Valentine for a Sweet Granddaughter
Inchies are back! These were started with a 1" square punch and a heart punch. Scraps of red, purple and pink were attached to the back, then the squares were mounted on a larger piece of white cs with dimensionals.
After adding bakers twine and the greeting, the white panel was done--super easy to do! I attached it to the pink card base with double-stick tape and stamped the greeting below.
The heart border punch provides the perfect Valentine touch!
After adding bakers twine and the greeting, the white panel was done--super easy to do! I attached it to the pink card base with double-stick tape and stamped the greeting below.
The heart border punch provides the perfect Valentine touch!
Tuesday, February 12, 2013
FROM MY FILE--Peace Roses
This was a pre-stamped image I found in my file today from several years back when I stamped a whole page of them. Although you can't tell here, I colored the main rose from another image and popped it up on this bouquet.
Since I love Peace roses, I tried to capture the color here; but it came out a bit too bold for that particular variety. I started with a yellow marker and added pink on the edges of the petals. Before mounting on the green cs with dimensionals, I distressed the edges of the white panel. Then I added a generous amount of yellow Stickles to give it some sparkle.
TIP: A fun way to add images to your collection is to get together with other stampers who each bring a variety of their newest stamps. Using white cardstock and black ink, go to town stamping pages of images that you can use later. Not only do you save money that way, but you also get a chance to use that one stamp you like out of a whole set! Just be sure to allow enough space around each image for possible future die cutting.
Since I love Peace roses, I tried to capture the color here; but it came out a bit too bold for that particular variety. I started with a yellow marker and added pink on the edges of the petals. Before mounting on the green cs with dimensionals, I distressed the edges of the white panel. Then I added a generous amount of yellow Stickles to give it some sparkle.
TIP: A fun way to add images to your collection is to get together with other stampers who each bring a variety of their newest stamps. Using white cardstock and black ink, go to town stamping pages of images that you can use later. Not only do you save money that way, but you also get a chance to use that one stamp you like out of a whole set! Just be sure to allow enough space around each image for possible future die cutting.
Sunday, February 10, 2013
BEE HAPPY
No more snowflakes for me--I'm heading straight for Spring with all my new and old floral stamps!
This one I inked up with Fired Brick and Forest Moss Distress Ink pads and stamped it on watercolor paper. I then took the pads and smeared some ink on an acrylic block to use as a pallet for my aqua painter. After coloring in the leaves and flowers, I used a black marker for the centers.
To highlight the poppy seeds, I used tiny black gems from a letter set and some gold glitter for the centers. The greeting and the gold twine finished the look I wanted. Leaving long "tails" on the bow coordinates beautifully with the wavy die cut frame, which is mounted with dimensionals.
For a closer look at the flower centers, click on the image.
TIP: The easiest way to cut a double frame is to put both pieces of cs down on the plate, cut out the smaller opening on both and remove the bottom cs piece. Carefully line up the larger die around the opening in the top piece and run it through again. Perfect every time! The leftover centers and narrow frame can then be used for other cards.
This one I inked up with Fired Brick and Forest Moss Distress Ink pads and stamped it on watercolor paper. I then took the pads and smeared some ink on an acrylic block to use as a pallet for my aqua painter. After coloring in the leaves and flowers, I used a black marker for the centers.
To highlight the poppy seeds, I used tiny black gems from a letter set and some gold glitter for the centers. The greeting and the gold twine finished the look I wanted. Leaving long "tails" on the bow coordinates beautifully with the wavy die cut frame, which is mounted with dimensionals.
For a closer look at the flower centers, click on the image.
TIP: The easiest way to cut a double frame is to put both pieces of cs down on the plate, cut out the smaller opening on both and remove the bottom cs piece. Carefully line up the larger die around the opening in the top piece and run it through again. Perfect every time! The leftover centers and narrow frame can then be used for other cards.
Saturday, February 9, 2013
SNOWSTORM STAMPING
It may be snowing outside, but I'm thinking Spring!
This lily was stamped and filed in my pre-stamped folder ages ago, so I decided to finally use it on a card using my new Distress Ink Markers and an aqua painter. After watercoloring the flower and adding black Stickles to the stamens, I set it aside to dry and cut the mats. I found another image in the file, so I cut out the painted blossom and mounted it over the second one with dimensionals.
Next, I tied embroidery floss around the layers and mounted it to the card of white Bazzill cs with double-stick tape. Then I made the label, added a light green gem and attached it with a tiny piece of dimensional tape. Done!
For beginners, all you need is a flower stamp, some black ink and some markers to make a nice Spring card.
TIP: In place of ribbon, I use embroidery floss on most of my cards. It's less bulky for mailing, and less expensive. With such a variety available, you can easily match the colors to your cardstocks and inks.
PS: We got less than 6" of snow last night and have already been plowed out--YAY!
This lily was stamped and filed in my pre-stamped folder ages ago, so I decided to finally use it on a card using my new Distress Ink Markers and an aqua painter. After watercoloring the flower and adding black Stickles to the stamens, I set it aside to dry and cut the mats. I found another image in the file, so I cut out the painted blossom and mounted it over the second one with dimensionals.
Next, I tied embroidery floss around the layers and mounted it to the card of white Bazzill cs with double-stick tape. Then I made the label, added a light green gem and attached it with a tiny piece of dimensional tape. Done!
For beginners, all you need is a flower stamp, some black ink and some markers to make a nice Spring card.
TIP: In place of ribbon, I use embroidery floss on most of my cards. It's less bulky for mailing, and less expensive. With such a variety available, you can easily match the colors to your cardstocks and inks.
PS: We got less than 6" of snow last night and have already been plowed out--YAY!
Labels:
Beginner Basics,
From My File,
Postage Friendly,
Tips
Thursday, January 31, 2013
HEXAGON HUGS
Another hexagon card similar to one I saw in CardMaker Magazine. This is going out with a hand-written message inside for a friend whose whole family has been sick (2 recovering from surgeries and she with the flu.) It's been a long haul for all of them!
This is what I love about making our own cards. It's such a wonderful way to bless a friend in need. As I've said before, it's really a ministry.
For this card, I added texture with an ef and popped it up on the card front with dimensionals. The hexagons were left over from my previous 2 cards and just happened to match a piece of light blue cs laying on my table (from who-knows-where...) Very simple card to assemble.
This is what I love about making our own cards. It's such a wonderful way to bless a friend in need. As I've said before, it's really a ministry.
For this card, I added texture with an ef and popped it up on the card front with dimensionals. The hexagons were left over from my previous 2 cards and just happened to match a piece of light blue cs laying on my table (from who-knows-where...) Very simple card to assemble.
Wednesday, January 30, 2013
ANOTHER HEXAGON CARD from the SCRAP DRAWER
Since I had some leftover hexagons on my table, I made another card. This time I left a little bit of white cs around the border when I cut it down. After wrapping some jute around the tan layering swatch (which I got from the Paper Cut) I stamped the greeting at the bottom and mounted it on the front of the card.
This time I kept the embellishments even simpler by adding a tiny flower with a blue gem on top of 2 layers from my SU Boho Blossom punch.
I've always liked the blue/brown combination, so I'm glad to have used it here. Maybe I'll redo my living room in these colors!
This time I kept the embellishments even simpler by adding a tiny flower with a blue gem on top of 2 layers from my SU Boho Blossom punch.
I've always liked the blue/brown combination, so I'm glad to have used it here. Maybe I'll redo my living room in these colors!
Subscribe to:
Posts (Atom)